Category: Sustainable Living

Low-waste living without the guilt: use-it-up kitchen habits, natural materials, mending, low-tox cleaning, and buying less but better. Small swaps, made when something runs out.

  • Pantry Reset Without Buying a Single Container

    Pantry Reset Without Buying a Single Container

    A lot of pantry advice is really a shopping list for matching jars. You don’t need them. A pantry reset that sticks starts with what you already own: empty one shelf, toss what’s done, give every category a home, and write the restock list before you shop.

    That’s pantry organization on a budget. No container haul, and no system that collapses by Thursday.

    Free printable: Put this on the calendar with the Reset Week Starter on the Free Printable page. A slot in your week beats a board full of pantry photos you never open.

    Why pantries fall apart

    It’s the same three habits that wreck the fridge and the medicine cabinet:

    • Backstock hides the truth. You buy pasta because you can’t see the three boxes behind the cereal.
    • Zones never got named. Snacks land wherever there’s a gap, so the everyday stuff and the once-a-year stuff share a shelf.
    • The list happens at the store. You shop from memory, then come home to duplicates.

    Containers don’t fix any of that. Zones and a restock list do.

    What you need (and what you don’t)

    You need:

    • A trash bag and a damp cloth.
    • A notepad, or a restock list with Have and Buy columns.
    • Masking tape and a marker for temporary shelf labels.
    • Twenty minutes and one shelf.

    You don’t need:

    • A set of matching canisters.
    • A whole Saturday spent emptying the pantry onto the floor.
    • New shelving, unless something’s actually broken.

    Later, and only if a problem survives two weeks of zones, one small tool can help: a tiered shelf riser for cans, or a turntable for oils in a deep corner. Most pantries get better without either.

    The 20-minute pantry reset

    Work one shelf at a time. Dumping the whole pantry is how people burn out and shove everything back worse than before.

    1. Pull one shelf (3 minutes)

    Take everything off. Wipe the shelf. While you’re at it, check the overflow spots: the top of the fridge, the bulk corner in the laundry room, the snack drawer if snacks live there instead.

    2. Toss what’s done (4 minutes)

    Stale crackers, the open bag of something from last spring, and anything bugs have found all go. So do swollen, leaking, or badly rusted cans, and any can with a deep dent (one you can lay a finger in) or a dent on a seam. That’s straight from USDA’s Food Safety and Inspection Service, which also says to keep canned goods in a cool, dry spot, not above the stove or under the sink. (USDA FSIS: Shelf-Stable Food Safety)

    FSIS also notes that dates on shelf-stable food are about quality, not safety, so a slightly old box of pasta can be fine. Use your judgment: if it smells off or you wouldn’t cook with it tonight, it doesn’t earn the shelf.

    3. Group like with like (5 minutes)

    Make piles on the counter before anything goes back:

    • Grains and pasta
    • Cans and jars
    • Baking supplies
    • Breakfast and snacks
    • Oils, sauces, and spices
    • Household stuff (foil, bags, paper towels), if it lives here

    You’re not alphabetizing. You’re ending the scavenger hunt.

    4. Assign zones (5 minutes)

    Give every pile a home that matches how you actually cook. A zone map that works in most kitchens:

    Zone What lives there
    Top shelf Backstock and rarely used: extra paper goods, holiday baking, bulk refills
    Eye level: everyday meals Pasta, rice, grains, sauces, canned beans and tomatoes
    Eye level: breakfast and snacks Cereal, oats, nut butter, crackers, a kids’ snack bin
    Middle: baking Flour, sugar, baking soda and powder, spices, oils
    Low shelf Heavy and bulk: drinks, big cans, potatoes and onions (kept apart)
    Door or front bin Grab-and-go lunch-box items, bars, and a “use me first” basket

    Write your zone name on a strip of tape and stick it on the shelf edge. It’s ugly. It works.

    Then put the oldest items in front and the newest behind. First in, first out. That one habit cuts more waste than any pretty jar, and it’s the same idea as the “eat first” bin in the fridge reset.

    5. Write the restock list before you close the door (3 minutes)

    This is the step that makes the whole thing pay off. While the shelf is open, mark Have or Buy for what you actually saw:

    • Rice, pasta, oats
    • Beans, tomatoes, broth
    • Flour, sugar, baking powder
    • Cereal, nut butter, crackers
    • Cooking oil, vinegar, pasta sauce
    • Foil, storage bags, paper towels, if they live here

    Circle the Buys and snap a photo of the list before you shop. Don’t rebuild it from memory in aisle four. Prefer paper? Keep it with your other lists from the monthly Paperwork Hour.

    The “no new containers” rule

    Live with your zones for two weeks before you buy anything organizational.

    A lot of what gets bought after a pantry makeover is guilt shopping: cute bins for a mess that hasn’t been sorted yet. If one category still collapses after two weeks of labels and first-in-first-out, then buy one tool for that one problem. Not a matching set for the whole wall.

    What “one tool, one problem” looks like:

    • Cans stacked so deep you keep buying duplicates? One shelf riser.
    • Oils and vinegars lost in a corner? One turntable.
    • Kid snacks spread across three shelves? One open bin labeled “snacks,” not twelve mini jars.

    Everything else can wait. Using what you have is also the low-waste choice, which is why this post sits under both Kitchen Resets and Sustainable Living.

    Mistakes that undo the reset

    • Emptying the whole pantry at once. One shelf. Stop when the timer goes.
    • Buying containers first. Zones first, tools last, if at all.
    • Mixing backstock with everyday. The spare pasta goes up high; the open box stays at eye level.
    • Skipping the list. A reset that doesn’t change what you buy is just rearranging.
    • Storing potatoes and onions together. They’re commonly kept apart because they spoil faster side by side. Give them separate spots on the low shelf.

    How it fits the week

    The pantry shares Friday with the medicine cabinet on the Weekly Home Reset Routine, on alternate weeks. A full shelf-by-shelf pass once a month is plenty for most houses. A two-minute look at the restock list before each shop catches the gaps.

    Holiday baking season is when pantries get out of hand. If Thanksgiving is on your calendar, do this reset first, then follow the Holiday Kitchen Prep timeline so the extra groceries have somewhere to land. Planning to give edible gifts this year? The low-waste gifting guide has a few that start right here on the baking shelf.

    The Home Reset Week bundle includes a printable Pantry Zone Map and Restock List with blank “my shelf” lines.

    Quick recap

    1. One shelf at a time: pull, wipe, toss.
    2. Group like with like.
    3. Assign zones: backstock up top, everyday at eye level, heavy items low, grab-and-go by the door.
    4. Oldest in front, and label the shelf edge.
    5. Fill in the Have and Buy list before you shop.
    6. No new containers until the zones survive two weeks.

    Twenty minutes, zero jars, and a pantry you can actually cook from.

    Save this for later

    Pin it to your kitchen board so the zone map is there on reset day.
    Pinterest pin: Pantry Reset Without Buying Containers. One shelf, 20 minutes, zero jars. Checklist: Pull one shelf, toss what’s done; Group like with like; Zones: backstock up, daily at eye level; Write the restock list before you shop.
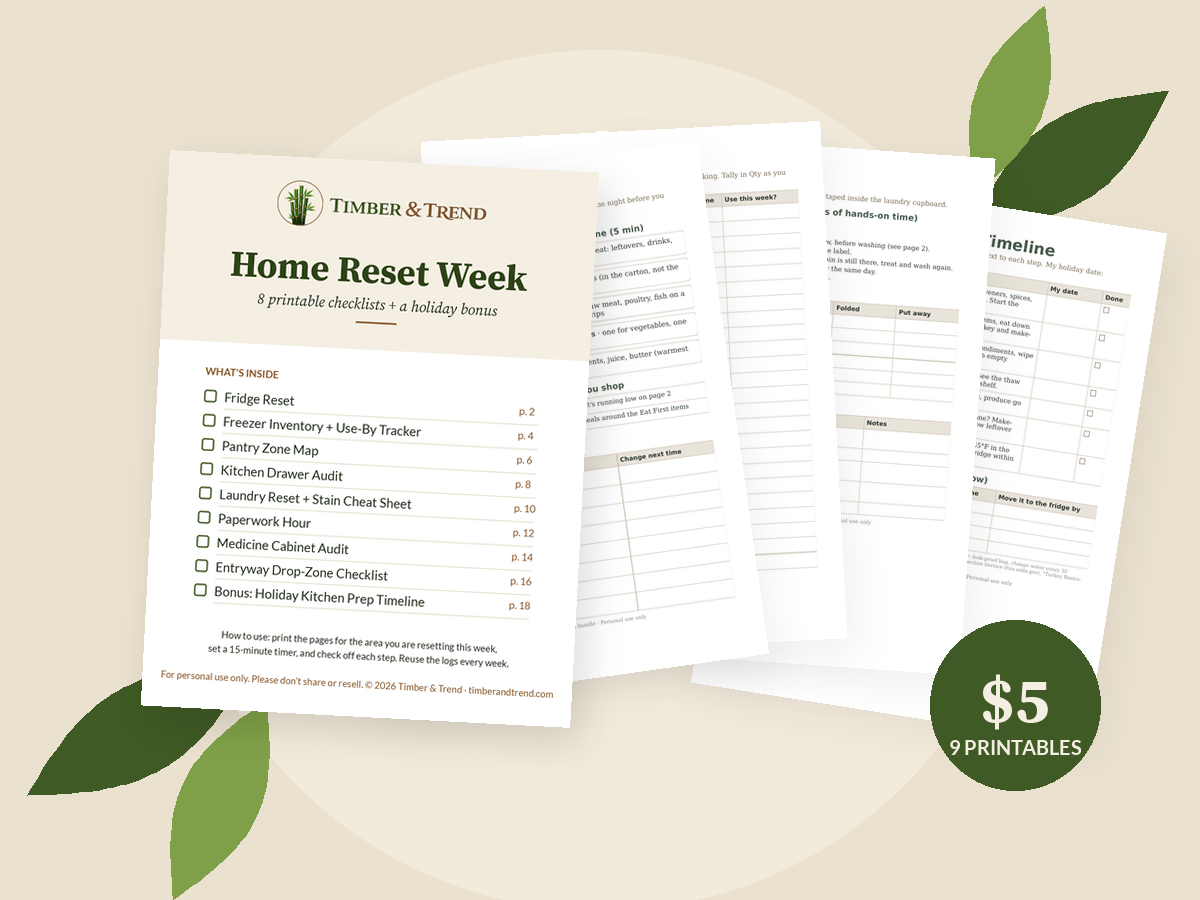
    Home Reset Week printable bundle, $5

    Printable bundle · $5 launch price

    Get every checklist in one place

    The Home Reset Week bundle has 8 printable resets (fridge, freezer, pantry, drawers, laundry, paperwork, medicine cabinet, entryway) plus a holiday kitchen prep timeline.
  • Low-Waste Holiday Gifting: 25 Ideas That Don’t End Up in a Drawer

    Low-Waste Holiday Gifting: 25 Ideas That Don’t End Up in a Drawer

    Every January, a lot of houses do the same quiet sort: the scented candle nobody lit, the novelty mug, the gadget that needed a cable no one could find. It all goes in a drawer, then a donation bag, then somewhere else. Nobody did anything wrong. The gift just didn’t fit a real day in that person’s life.

    Low-waste gifting isn’t about wrapping everything in newspaper and giving people jars of lentils. It’s a simple filter you run before you buy: will this get used up, or used for years? If the answer is neither, skip it.

    Below are 25 ideas sorted by that filter, plus a short planning method so you buy fewer things and better ones.

    Free printable: The Reset Week Starter gives you a 7-day calendar. Block one evening for gift planning and you’ll shop once instead of five times. Download it free

    Start with a list, not a store

    Most gift waste comes from shopping without a plan. You’re in a store, you feel the clock, you grab something “for now.” A ten-minute list fixes most of that:

    1. Write every name you’re buying for.
    2. Next to each one, note one thing they do every week: cook, walk the dog, read in bed, garden, commute.
    3. Pick a gift that supports that weekly thing. Not a new hobby you think they should have.
    4. Set a budget per person and write it down. It’s easier to hold the line on paper.

    If you already run a monthly Paperwork Hour, tuck the gift list into the same session. It’s the same kind of job: one sitting, one list, done.

    Gifts that get used up (1–9)

    Consumables are the easiest low-waste win. They’re enjoyed, then they’re gone, and nothing lingers in a cupboard.

    1. Good coffee or loose-leaf tea. Buy what they already drink, just a nicer version. A local roaster often sells in bags you can recycle or refill.
    2. A homemade spice blend. Taco seasoning, za’atar, or a simple steak rub in a small glass jar. Label it with the name and the ingredients.
    3. Baked goods that freeze well. Shortbread, banana bread, or granola. Include a note that says it freezes, so they don’t feel rushed to eat it all by Sunday.
    4. Nice olive oil or vinegar. Something they’d use every week but wouldn’t buy for themselves.
    5. Their favorite pantry treat in bulk. If your brother goes through a jar of fancy peanut butter a week, three jars is a real gift. Seriously.
    6. A soup or freezer-meal kit. Two or three frozen meals in containers they can keep. For new parents or anyone recovering from something, this beats almost any object. The freezer inventory guide has a simple label format (item, date frozen, use-by) worth copying.
    7. Bar soap or shampoo bars. A practical category: they’re used daily and usually come in paper or no packaging.
    8. Candles they’ll actually burn. Unscented or lightly scented, in a size they’ll finish. A huge three-wick candle in a strong scent often ends up in the drawer.
    9. Seeds or bulbs for the gardener. Pick for their growing zone and season. Paper packets, no plastic.

    A note on food gifts: label every homemade item with its ingredients. The FDA lists nine major food allergens (milk, eggs, fish, shellfish, tree nuts, peanuts, wheat, soybeans, and sesame), and a label means nobody has to text you to ask. (FDA: Food Allergies)

    Experiences and time (10–16)

    These take up zero shelf space. The trick is making them specific, so they get used.

    1. Tickets to a specific thing. A concert, a play, a game. A date on the calendar beats a vague promise.
    2. A class they’ve mentioned. Pottery, bread baking, a knife skills session. If they’ve brought it up twice, that’s your sign.
    3. A membership. Museum, botanical garden, state park pass, or a local pool. They pay off every visit.
    4. A shared outing, planned. “Saturday the 14th: breakfast, then the Christmas market.” Write it on a card. Show up.
    5. Your time, with a date attached. Babysitting for an evening, a garage clean-out, or help with the weekly home reset for a friend who’s swamped. Coupons with no date tend to expire in a drawer, so name the date.
    6. A streaming or audiobook credit they’ll use. Only if they already listen. This one’s useless for someone who doesn’t.
    7. Gift cards, done well. Not lazy if it’s for a place they already love: their bakery, their bookstore, their hardware store. Under the federal Credit CARD Act, store and bank gift cards generally can’t expire for at least five years from activation, and inactivity fees are limited. Some states add more protection. (FDIC: What You Should Know About Gift Cards) Still read the fine print for fees.

    Buy it once (17–21)

    Durable gifts are low-waste when they replace something worn out or fill a real gap. They’re not low-waste when they’re a fourth version of something the person already owns.

    1. A real upgrade of a daily tool. A good chef’s knife, a cast-iron skillet, or a sturdy cutting board for someone who cooks every night. Ask what’s annoying them in the kitchen before you buy.
    2. Wool socks or a natural-fiber throw. Warm, washable, and used all winter. Check care labels; some wool is machine-washable and some isn’t.
    3. A refillable water bottle or travel mug for someone who doesn’t have a good one. If they already have three, skip it.
    4. A repair kit. A basic sewing kit, a darning mushroom with thread, or a small tool set. Pairs well with a promise to sit down and mend together.
    5. Secondhand, picked with care. Vintage glassware, a classic book in good condition, a used record. Clean it, check it works, and give it like it’s new. Because it is, to them.

    Analog, handmade, and slow (22–25)

    These overlap with the Analog Life side of this site: gifts that pull people away from a screen for an hour.

    1. A paper planner or a nice notebook, for someone who already writes things down. Look for refillable covers if they’ll keep using the same size.
    2. A jigsaw puzzle or card game. Pass it on when you’re done; puzzles travel well between households.
    3. A handwritten letter. One page, specific memories, no generic wishes. People keep these for decades. That’s the opposite of a drawer gift, oddly, because it goes in a drawer on purpose.
    4. A beginner hobby kit, assembled by you. Yarn plus needles plus a pattern printout, or a watercolor block plus a small paint set. Only for someone who’s said they want to try it.

    Wrap without the trash bag

    Wrapping is where a lot of holiday waste actually lives. A few habits that help:

    • Fabric wrap. A tea towel, a scarf, or a square of cotton tied in a knot. The wrap becomes part of the gift.
    • Kraft paper and twine. Plain, reusable, and it looks good with a sprig of rosemary from the yard.
    • Reuse what came in. Shipping boxes, tissue paper, and gift bags from last year. Keep one bin for saved wrapping and actually use it first.
    • Skip the glitter and foil paper if you can. Many local programs don’t accept them in recycling, so check your city’s rules before you buy rolls of the shiny stuff.

    When people ask what you want

    You’ll probably get the question. Have an answer ready: a consumable you love, an experience, or “a dinner together in January.” Saying it out loud early saves someone else from guessing in a store on December 23rd.

    The low-waste gift checklist

    Before you buy anything, run these questions:

    • Does this support something they already do every week?
    • Will it get used up, or used for years?
    • Do they already own a version of it?
    • Can it be wrapped without a roll of single-use paper?
    • If it’s food, is it labeled?

    Four yeses out of five and you’re fine. Fewer than that, put it back and look again.

    If December is also when your kitchen starts to buckle, the Holiday Kitchen Prep guide clears the fridge, freezer, and pantry before the big cooking days, so edible gifts have somewhere to go.

    Save this for later

    Pin it to your holiday board so the list is there when the shopping starts.

    Pinterest pin: 25 Low-Waste Holiday Gift Ideas. Gifts that don’t end up in a drawer. Checklist: Edible gifts that get used up; Experiences with a date attached; Buy-it-once upgrades they need; Fabric or kraft wrap, no glitter.
    Home Reset Week printable bundle, $5

    Printable bundle · $5 launch price

    Get every checklist in one place

    The Home Reset Week bundle has 8 printable resets (fridge, freezer, pantry, drawers, laundry, paperwork, medicine cabinet, entryway) plus a holiday kitchen prep timeline.
  • The 15-Minute Fridge Reset: A Sunday Checklist That Actually Sticks

    The 15-Minute Fridge Reset: A Sunday Checklist That Actually Sticks

    Most fridge organizing advice starts with buying a dozen clear bins. This one starts with a timer. A fridge reset is a short, repeatable routine: clear out what’s past its time, wipe one shelf, and put things back where they belong. Do it the night before you shop and you’ll buy less, waste less, and actually see what you have.

    The first reset takes about 45 minutes. After that, 15 minutes a week keeps it there.

    Free printable: The Reset Week Starter gives you a 7-day reset calendar so the fridge gets its own slot in the week. Download it free

    Why a weekly reset beats a big clean-out

    A once-a-year deep clean feels great for about ten days. Then leftovers pile up again, the back of the shelf turns into a mystery zone, and you’re buying a second jar of mustard. A small weekly reset works better because:

    • It’s short enough that you’ll actually do it.
    • It catches leftovers before they turn, not after.
    • It lines up with shopping, so your list is built from what’s really missing.

    Step 1: Clear out (5 minutes)

    Pull out every leftover container and check it. A useful rule from FoodSafety.gov: cooked leftovers, soups, stews, and pizza keep about 3 to 4 days in the fridge. If you can’t remember when you made it, that’s your answer.

    While you’re there, check the usual suspects:

    • Opened lunch meat or deli slices: 3 to 5 days.
    • Opened hot dogs: about 1 week.
    • Bacon: about 1 week.
    • Prepared salads (egg, chicken, tuna, macaroni): 3 to 4 days.

    Toss spoiled produce and empty containers. Anything that’s still good but needs eating soon goes into one spot: your Eat First shelf or bin.

    Step 2: Wipe one zone (5 minutes)

    You don’t need to scrub the whole fridge every week. Wipe the shelf you just emptied, then do a quick pass on anything sticky: the crisper drawers, door shelves, and the handle. Rotate which shelf gets the full wipe so the whole fridge gets covered every month or so.

    A washable shelf liner makes this faster, since you can pull it out and rinse it instead of wiping around jars.

    Step 3: Check the temperature (30 seconds)

    Your fridge should be at 40°F (4°C) or below, and the freezer at 0°F (-18°C) or below. The dial on many fridges is just numbers, not degrees, so an inexpensive fridge thermometer is the only way to really know. Check it once now, then every month or so.

    Step 4: Put things back by zone (5 minutes)

    Zones mean you stop moving five things to find one. A simple setup:

    • Top shelf: ready-to-eat food. Leftovers, drinks, and the Eat First bin.
    • Middle shelf: dairy and eggs. Keep eggs in their carton on a shelf, not in the door, since the door is the warmest spot.
    • Bottom shelf: raw meat, poultry, and fish, on a tray or in a bin so nothing drips onto other food.
    • Crisper drawers: one for vegetables, one for fruit.
    • Door: condiments, juice, and butter, which handle the temperature swings best.

    You don’t need matching containers for this. Use what you have; a baking tray works fine as a raw-meat catch tray.

    Step 5: Write two lines before you shop

    This is the step that makes the reset pay off. Before you close the door, write down:

    1. What’s running low. That’s the start of your shopping list.
    2. Two meals built around the Eat First items. That’s how the “use it up” shelf actually gets used.

    Labels help here too. If you date leftovers when they go in, Step 1 next week takes half the time. Masking tape and a marker are enough; dry-erase labels are nice if you want something reusable.

    How long does food last in the fridge?

    These times are for a fridge at 40°F (4°C) or below, from the FoodSafety.gov Cold Food Storage Chart:

    Food Fridge
    Cooked meat or poultry leftovers 3–4 days
    Soups and stews 3–4 days
    Pizza 3–4 days
    Egg, chicken, tuna, or macaroni salad 3–4 days
    Lunch meat, opened or deli-sliced 3–5 days
    Hot dogs, opened 1 week
    Bacon 1 week
    Hard-cooked eggs 1 week
    Raw eggs in shell 3–5 weeks
    Raw ground meat or ground poultry 1–2 days
    Raw chicken or turkey 1–2 days
    Raw steaks, chops, roasts 3–5 days
    Raw fish 1–3 days

    When in doubt, throw it out. These charts are guidelines, and smell isn’t a reliable test.

    Common fridge reset mistakes

    • Organizing before purging. Clear out first, or you’re just arranging old food more neatly.
    • Buying containers first. Live with your zones for two weeks, then buy only what you’re missing.
    • Overpacking. Cold air needs room to move; a crammed fridge cools unevenly.
    • Skipping the list. The reset only saves money if it changes what you buy.

    Make it a routine

    Pick one night, ideally the night before your usual shopping day, and attach the reset to something you already do, like running the dishwasher after dinner. Set a 15-minute timer and stop when it goes off. Next week, you’ll be faster.

    If you’re doing the freezer too, our freezer inventory guide pairs with this, and the Weekly Home Reset Routine shows how the fridge fits into the rest of the week. The pantry reset uses the same zones-before-containers rule for dry goods, and if your grocery list lives on paper, the monthly Paperwork Hour is a good home for the rest of your lists.

    Get the free printable

    The Reset Week Starter is a free two-page PDF: a 7-day reset calendar that gives the fridge its own slot, plus a freezer inventory sheet. Download it free

    Save this for later

    Pin it to your home or cleaning board so the checklist is there on reset day.

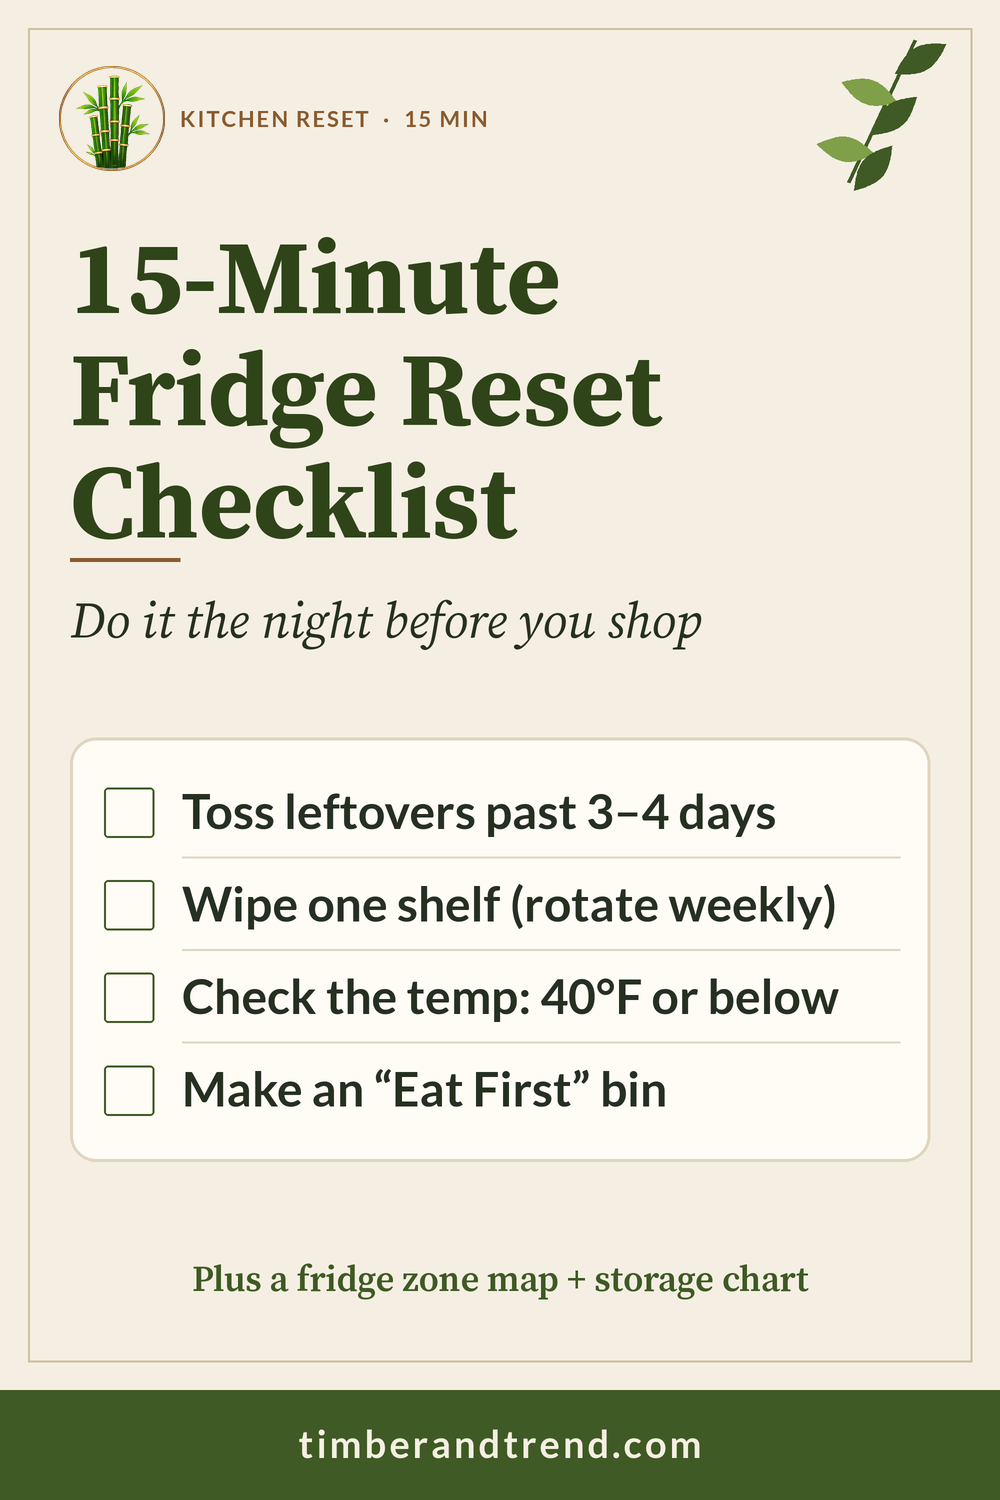
    Pinterest pin: The 15-Minute Fridge Reset. A Sunday checklist that actually sticks. Checklist: Toss leftovers past 3–4 days; Wipe one shelf; Make an “Eat First” bin.
    Home Reset Week printable bundle, $5

    Printable bundle · $5 launch price

    Get every checklist in one place

    The Home Reset Week bundle has 8 printable resets (fridge, freezer, pantry, drawers, laundry, paperwork, medicine cabinet, entryway) plus a holiday kitchen prep timeline.
  • Freezer Inventory Made Easy: Stop Buying Things You Already Have

    Freezer Inventory Made Easy: Stop Buying Things You Already Have

    If you’ve ever come home from the store with ground beef only to find two packs already buried in the freezer, you don’t have a space problem. You have a visibility problem. A freezer inventory fixes that with one sheet of paper and about ten minutes a week.

    This guide walks through setting up a simple inventory, splitting the freezer into zones, and keeping the list current without it turning into a chore.

    Free printable: The Reset Week Starter includes a ready-to-use freezer inventory sheet with item, quantity, date frozen, use-by, and zone columns. Download it free

    Why a freezer inventory saves money

    Food in the freezer doesn’t disappear, it just gets forgotten. Things slide to the back, frost over, and get thrown out months later. A written list does three things:

    • You stop double-buying, because you check the list before you shop.
    • You use older food first, because the dates are in front of you.
    • Meal planning gets faster, because the list tells you what’s already on hand.

    Step 1: Empty and sort (20 minutes, once)

    Pick a time when the freezer is fairly low, such as the day before a big shop. Have a cooler or a couple of insulated bags ready so nothing thaws while you work.

    1. Take everything out and group it on the counter by type: meat and fish, vegetables and fruit, cooked meals and leftovers, bread and baking.
    2. Toss anything with heavy freezer burn, torn packaging you can’t identify, or no idea of when it went in.
    3. Wipe the shelves or bins while they’re empty.

    Step 2: Set up four zones

    Zones mean you always know where to look. The free sheet uses these four:

    Zone What goes there
    A Meat and fish
    B Vegetables and fruit
    C Cooked meals and leftovers
    D Bread and baking

    In an upright freezer, give each zone a shelf or a door section. In a chest freezer, use bins or reusable bags so you can lift a whole zone out instead of digging.

    Put the oldest items at the front or top of each zone.

    Step 3: Write it down

    Fill in one line per item:

    • Item: be specific (“chicken thighs, 2 lb” beats “chicken”).
    • Qty: count of packs or portions.
    • Date frozen: your best guess for older things is fine.
    • Use by: your own target for best quality (see the chart below).
    • Zone: A, B, C, or D.

    Label new packages before they go in, with the item and date. A roll of freezer tape and a marker works; a small label maker is faster if you already like using one.

    How long food keeps its quality in the freezer

    FoodSafety.gov notes that food kept continuously at 0°F (-18°C) or below stays safe indefinitely. The times below are for quality, meaning taste and texture, which is what your “use by” column is tracking.

    Food Freezer quality time
    Ground meat and ground poultry 3 to 4 months
    Steaks, chops, roasts (beef, pork, lamb) 4 to 12 months
    Chicken or turkey pieces 9 months
    Whole chicken or turkey 1 year
    Bacon 1 month
    Raw sausage 1 to 2 months
    Fatty fish (salmon, tuna, mackerel) 2 to 3 months
    Lean fish (cod, flounder, haddock) 6 to 8 months
    Soups and stews 2 to 3 months
    Cooked meat or poultry leftovers 2 to 6 months
    Pizza 1 to 2 months

    Source: FoodSafety.gov Cold Food Storage Chart.

    Step 4: Keep it current (2 minutes per use)

    The list only works if it stays accurate. Two habits make that easy:

    • Tape the sheet to the freezer door or the inside of a nearby cabinet, with a pen on a string.
    • Cross off as you take, add as you put in. A tally mark in the Qty box is enough.

    Once a week, during your freezer reset (Monday in the weekly home reset routine), copy anything still in date onto a fresh sheet and circle the items to use that week.

    Step 5: Shop from the list

    Before writing a grocery list, check the circled “use this week” items and plan two or three meals around them. Then check the inventory for anything you were about to buy. This is where the money comes back.

    The same shelf-by-shelf habit works in the cupboard: the pantry reset uses zones and a restock list instead of new containers. And if a paper list on the door suits you, the monthly Paperwork Hour runs on the same idea for bills and mail.

    Common freezer inventory mistakes

    • Too much detail. You don’t need weights to the ounce. Item, count, and date are what matter.
    • No zones. A list without zones still means digging.
    • Freezing food in bulky containers. Flat, labeled bags stack and thaw faster.
    • Letting the sheet get stale. If it’s been three weeks, start fresh rather than trying to reconcile.

    Get the free sheet

    The Reset Week Starter includes the freezer inventory sheet plus a one-page 7-day reset calendar so the freezer becomes one small piece of a weekly routine. Download it free

    Save this for later

    Pin it to your home or cleaning board so the checklist is there on reset day.

    Pinterest pin: Freezer Inventory Made Easy. Stop buying things you already have. Checklist: Empty, sort & toss; Zone it: meat, veg, meals; Log item, qty & date.
    Home Reset Week printable bundle, $5

    Printable bundle · $5 launch price

    Get every checklist in one place

    The Home Reset Week bundle has 8 printable resets (fridge, freezer, pantry, drawers, laundry, paperwork, medicine cabinet, entryway) plus a holiday kitchen prep timeline.