Category: Paper & Admin

Paper, admin, and the small household systems nobody teaches you: a monthly Paperwork Hour for bills and mail, a keep-or-shred guide, and a medicine cabinet clean-out with safe disposal steps.

  • Medicine Cabinet Clean-Out: What to Toss, Keep, and Restock

    Medicine Cabinet Clean-Out: What to Toss, Keep, and Restock

    A medicine cabinet doesn’t stay sorted. Bottles migrate, half-empty tubes multiply, and the one thing you need at 2 a.m. is always the bottle that expired two winters ago.

    A medicine cabinet clean-out is a short reset: pull everything out, decide keep or discard, write down what you kept, and restock only the basics. It takes about 20 minutes. The disposal part follows FDA and DEA guidance, so you’re not guessing about what goes in the trash.

    Free printable: Grab the Reset Week Starter on the Free Printable page so this clean-out gets a real slot in your week, not a vague “I should.”

    Why cabinets go sideways

    It’s usually three quiet habits:

    • You buy a backup before you check. Two bottles of the same allergy pills end up hiding behind the sunscreen.
    • Expiry dates are tiny. You only notice them when someone’s already sick.
    • Disposal feels unclear. So expired pills sit there “until you figure it out,” which never happens.

    It’s the same pattern as the fridge and the junk drawer. Out of sight turns into out of date.

    What you need

    Keep the kit boring:

    • A trash bag and a small box or tray for the keepers.
    • A notepad or an expiry log with columns for item, form, expiry date, keep or discard, and notes.
    • Optional: a couple of small open bins or a turntable if your shelf is deep. Only if you already know you’ll use them.
    • A disposal plan. Take-back is best; more on that below.

    Don’t buy a new cabinet. Empty the one you have first.

    The five steps

    1. Empty the shelf (3 minutes)

    Pull every bottle, tube, and first-aid item onto a towel on the counter. Wipe the shelf. You can’t organize what you can’t see.

    Check the spillover spots too: nightstand drawer, the vitamin shelf in the kitchen, the diaper bag, the gym bag, the car console. Bring it all into one pile for this pass.

    2. Sort into three piles (7 minutes)

    For each item, ask one question: is this still good, and is it still ours?

    • Keep: in date, label readable, and someone in the house actually uses it.
    • Discard: expired, label worn off, tablets crumbling, mystery liquids, anything that’s been recalled or looks or smells off.
    • Ask: a prescription you’re unsure about, or something a clinician told you to finish. Call your pharmacist. This guide isn’t medical advice, and a pharmacist answers these questions all day.

    Group the keepers while you sort: daily meds, as-needed (pain, allergy, stomach), and first aid.

    3. Write down what you keep (5 minutes)

    Log it once: item, form (tablet, liquid, cream), expiry, and where it lives. That list is how you stop buying duplicates next month.

    Star anything that expires in the next 90 days. That’s your restock reminder, not an emergency.

    4. Get rid of the discard pile properly (5 minutes)

    This is the part people put off, so here’s the plain version of the official guidance:

    1. Take-back is the first choice. Many pharmacies and police stations have year-round drop boxes run by DEA-authorized collectors. The next National Prescription Drug Take Back Day is Saturday, October 24, 2026, 10 a.m. to 2 p.m. local time. Find a site through the DEA Diversion Control take-back page, or see the FDA’s take-back locations guide.
    2. Flush only if the medicine is on the FDA’s flush list. Most medicines aren’t. If it’s not on the FDA flush list, don’t flush it.
    3. No take-back option? Use the household trash method. The FDA’s steps: mix the medicine (don’t crush tablets or capsules) with something unappealing like used coffee grounds, dirt, or cat litter; seal it in a bag or container; throw it in the trash; and scratch out your personal info on the empty bottle. (FDA: Drug Disposal, Dispose “Non-Flush List” Medicine in Trash)

    Sharps (needles, lancets) aren’t accepted at Take Back Day sites. Follow the label and your local sharps program for those.

    5. Restock only what’s missing (optional, 5 minutes)

    Restock from the list, not from memory. A sensible starter set for a lot of households:

    • The pain or fever reducer you already use, in the right form and dose for everyone in the house.
    • The antihistamine you already use.
    • A digital thermometer that actually turns on.
    • Bandages in a few sizes, antiseptic wipes, and the ointment you trust.
    • Whatever your household actually reaches for when someone’s sick: electrolyte packets, throat lozenges, saline spray.

    This isn’t a pharmacy haul. Buy what the log says you’re out of.

    A zone map that sticks

    Once the shelf is clear, give every keeper a home:

    • Eye level: daily prescriptions and the things you use most.
    • Top shelf: backups and rarely used over-the-counter meds (still in date).
    • Locked or latched, up high: anything that’s dangerous for kids or pets. Curious hands and noses find open shelves fast.

    Turn labels to face out. It sounds small, but it’s the difference between finding the right bottle at night and reading six labels by phone light.

    Is the bathroom even the right spot?

    Often, no. The FDA notes that a damp bathroom cabinet can make medicine less effective before its expiration date, and suggests a cool, dry place instead: a dresser drawer, a storage box, a closet shelf, or a kitchen cabinet away from the stove and sink. (FDA: Don’t Be Tempted to Use Expired Medicines) Keep the bandages in the bathroom and move the pills somewhere drier if you can. Wherever they go, keep them out of kids’ sight and reach.

    Mistakes that undo the reset

    • Keeping expired meds “for emergencies.” Expired goes in the discard pile, not the backup shelf.
    • Sharing leftover prescriptions. Don’t.
    • Buying cute containers before the log is done. Organization follows the list, not the other way round.
    • Doing it once and never again. That’s how you end up back at mystery bottles.

    How it fits the week

    On the Weekly Home Reset Routine, the medicine cabinet shares Friday with the pantry on alternate weeks. A full empty-and-log once a quarter is plenty for most homes. A two-minute look at the expiry log each month catches the starred items before they turn into a late-night drugstore run.

    If you keep a paper log, it fits nicely into your monthly Paperwork Hour: check the stars, add a line to the shopping list, done. And if you’re clearing out the kitchen this month too, the pantry reset uses the same pull, sort, log rhythm.

    The Home Reset Week bundle has a printable Medicine Cabinet Audit with the expiry log already laid out.

    Quick recap

    1. Empty the cabinet and wipe the shelf.
    2. Sort into keep, discard, and ask (call the pharmacist for prescription questions).
    3. Log the keepers and star anything expiring within 90 days.
    4. Take-back first, flush only if it’s on the FDA list, otherwise mix, seal, trash, and scratch out the label.
    5. Restock only what the log shows you need.

    Twenty minutes, one clear shelf, and no mystery bottles at 2 a.m.

    Save this for later

    Pin it to your home or cleaning board so the checklist is there on reset day.
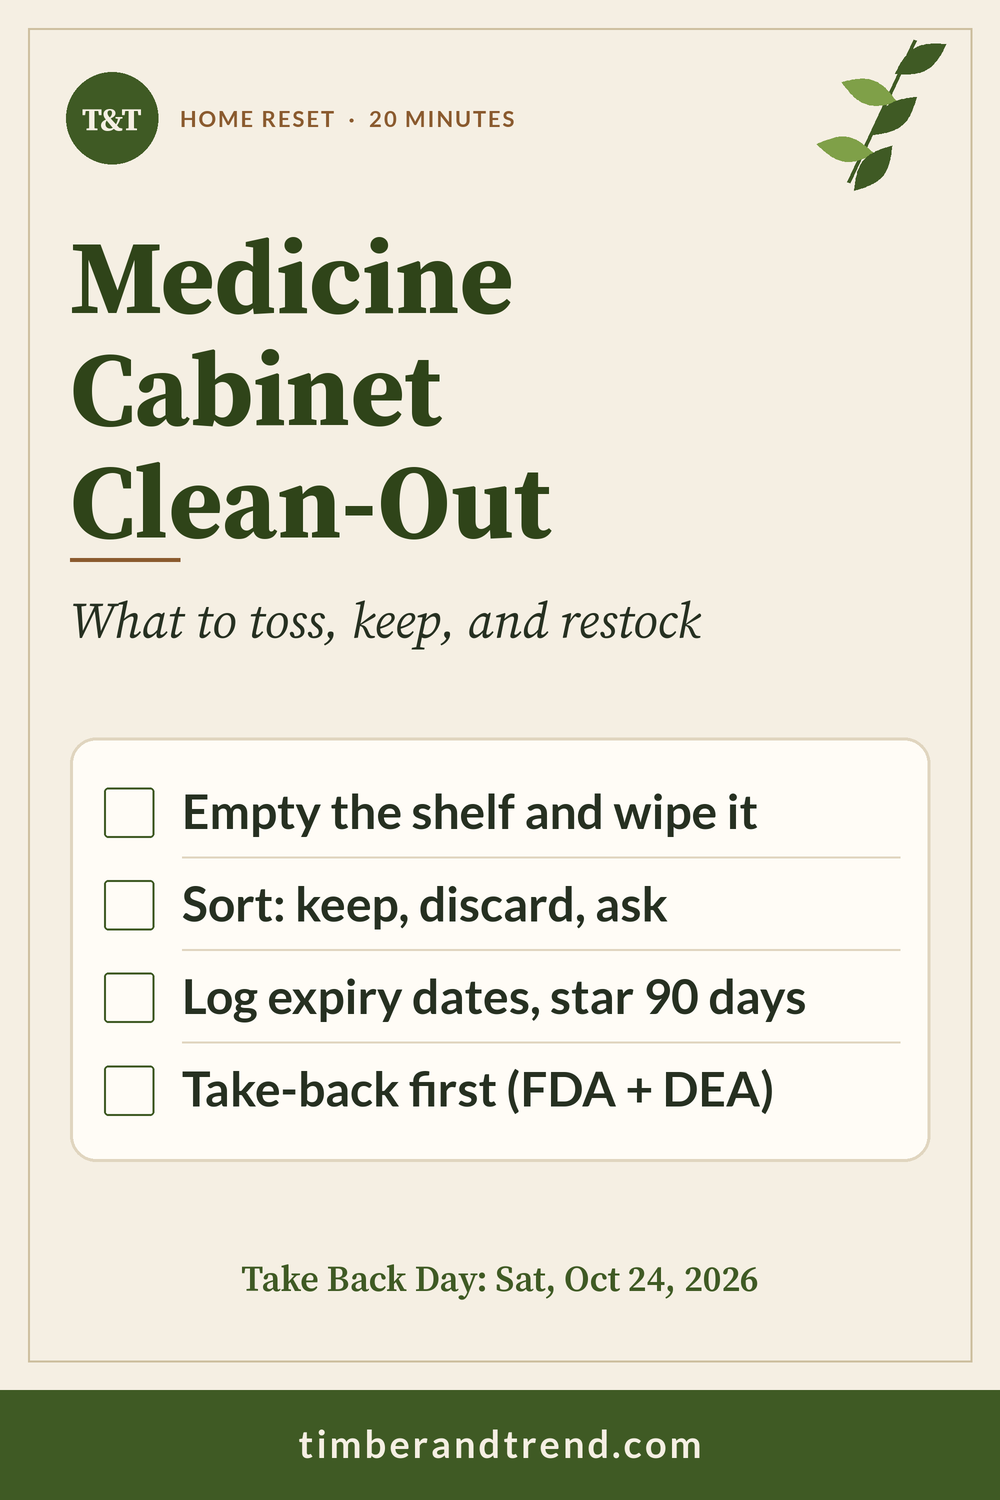
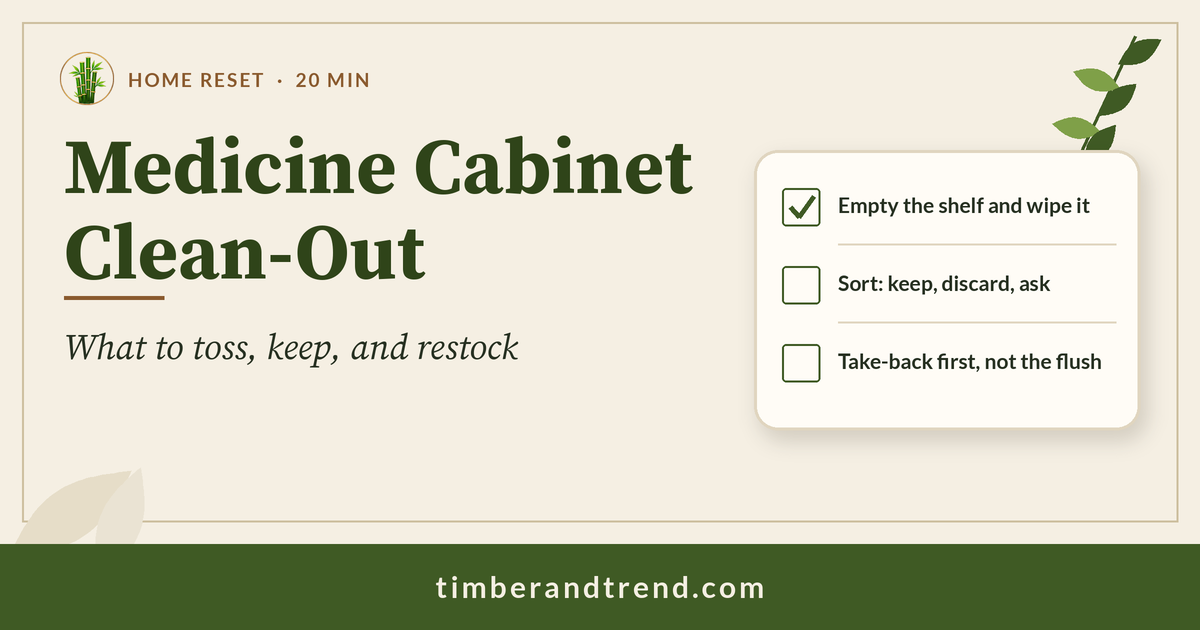
    Pinterest pin: Medicine Cabinet Clean-Out. What to toss, keep, and restock. Checklist: Empty the shelf and wipe it; Sort: keep, discard, ask; Log expiry dates, star 90 days; Take-back first (FDA + DEA).
    Home Reset Week printable bundle, $5

    Printable bundle · $5 launch price

    Get every checklist in one place

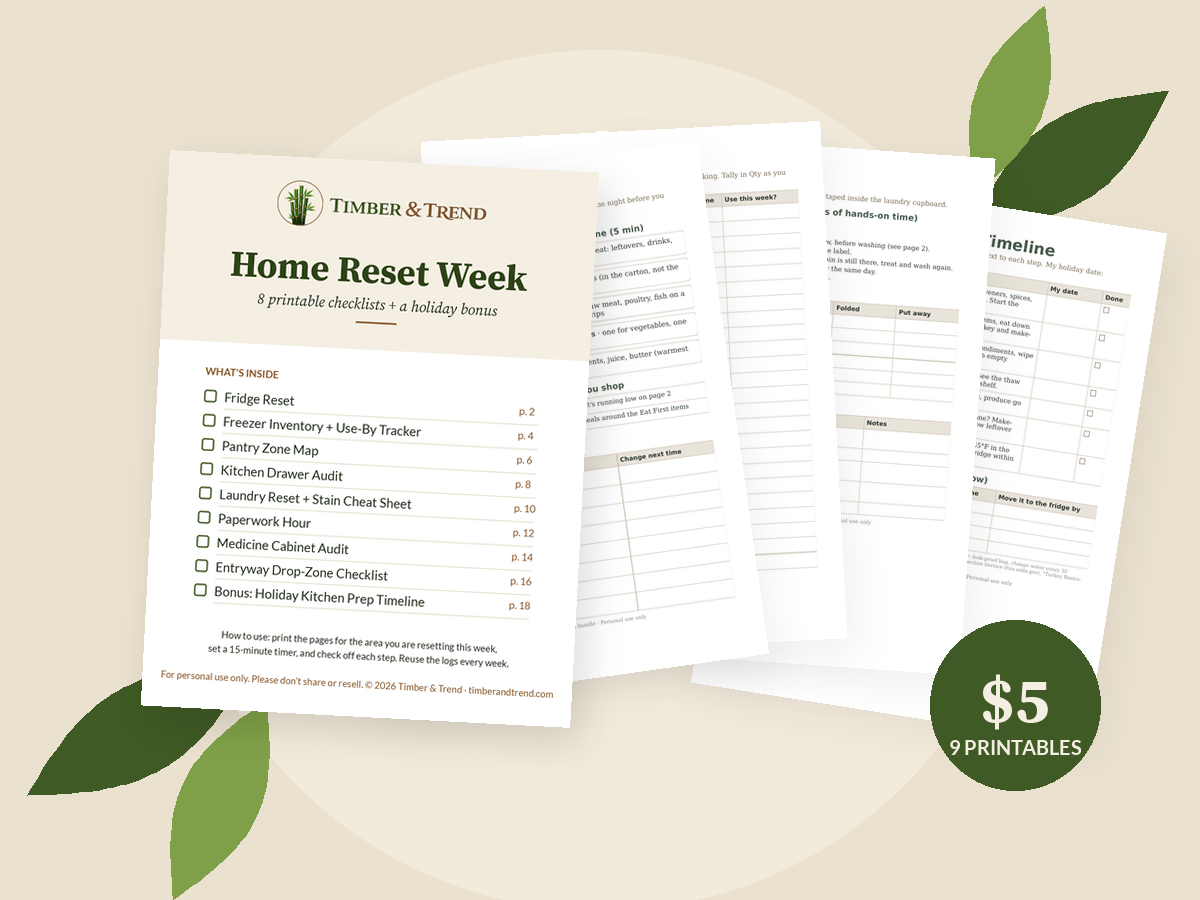
    The Home Reset Week bundle has 8 printable resets (fridge, freezer, pantry, drawers, laundry, paperwork, medicine cabinet, entryway) plus a holiday kitchen prep timeline.

  • Paperwork Hour: A Monthly System for Bills, Mail, and Forms

    Paperwork Hour: A Monthly System for Bills, Mail, and Forms

    Paper does not organize itself. Mail lands on the counter, bills hide under catalogs, and forms you meant to fill out migrate into a bag by the door. A once-a-year filing weekend feels productive for about a week. Then the pile returns.

    A paperwork hour is the opposite approach: one sitting a month, same day if you can, with a clear end. You open everything, sort it, pay what is due, file what you keep, and shred what you do not. When the hour is over, the inbox tray is empty.

    Free printable: The Reset Week Starter gives you a simple weekly calendar so paperwork gets a real slot, not a vague intention. Download it free

    Why one hour a month beats a weekend purge

    A big purge assumes you have a free Saturday and the energy to decide every piece of paper at once. Most people do not. A monthly hour works better because:

    • It is short enough that you will actually do it.
    • Bills get paid before they become late fees.
    • Keep-vs-shred decisions stay small instead of becoming a multi-hour identity crisis over old insurance statements.
    • The system stays empty between sessions, so paper never builds into a crisis pile.

    Think of it like the laundry reset or the fridge reset: the goal is not a magazine-ready office. The goal is a repeatable habit that keeps the house from drowning in paper.

    What you need before you start

    You do not need a custom built-in desk. You need:

    • One inbox tray, bag, or bin where all loose mail lands during the month.
    • A simple file box or drawer with four zones (Active, Tax year, Permanent, Pending — more below).
    • A shredder, or a plan for a community shred day.
    • A timer set for 60 minutes.
    • Optional: a label maker or masking tape and a marker; a basic file box with hanging folders if you are starting from nothing.

    Skip buying a full office suite until you have run the hour twice. Most of what you need is already in the house.

    The six steps of Paperwork Hour

    1. Gather (5 minutes)

    Pull every piece of mail, bill, school form, and loose paper into one spot. Check the usual hiding places: kitchen counter, bag by the door, car console, nightstand, and that chair that became a second desk. Dump it all into the inbox tray. Do not sort yet.

    2. Open and sort (15 minutes)

    Open every envelope. For each item, put it in one of four piles:

    • Keep — you need this document later.
    • Pay — a bill or payment due this month.
    • Shred — it has personal info and you do not need to keep it.
    • File — it belongs in a file-box zone right away (often the same as Keep, once you know the zone).

    Junk mail with no account numbers can go straight into recycling. Anything with an account number, Social Security number, or signature goes to shred, not the recycling bin.

    3. Pay what is due (10–15 minutes)

    Work the Pay pile. Pay online or write checks, mark the bill paid with the date, and set the statement aside for filing if you still keep paper copies. If you already have reliable online statements, you may not need the paper after payment — but keep disputed bills until the dispute is closed.

    4. File the keepers (10 minutes)

    Use four simple zones inside one file box:

    • Active (this year): current bills, open claims, this year’s receipts and statements you still need.
    • Tax year: returns and supporting docs for the years you are still keeping.
    • Permanent (IDs / deeds): birth certificates, Social Security cards, passports, deeds, titles, marriage or divorce decrees — keep these locked up.
    • Pending (disputes): anything waiting on a reply, claim, or resolution.

    You do not need twenty labeled folders on day one. Four zones and a few hanging folders are enough. Refine labels after you have lived with the system for a month.

    5. Shred (10 minutes)

    Run the shred pile. If you do not own a shredder, bag the shred pile and take it to a community shred day, bank event, or library event when one is available. Do not put unshredded account statements in household trash.

    6. Empty the inbox (2 minutes)

    When the hour ends, the inbox tray should be empty. That empty tray is the win. Anything unfinished goes into Pending with a sticky note saying what is left — do not let “almost done” turn back into a counter pile.

    Keep vs shred (a short household guide)

    Rules vary by tax situation and state, so treat this as general household guidance, not tax or legal advice. When unsure, keep the paper or ask a tax professional.

    Keep locked up / permanent: birth certificates, Social Security cards, passports, marriage and divorce decrees, deeds, auto titles, current insurance policies.

    Keep about 1 year (FTC consumer advice, June 2025): bank statements, pay stubs, undisputed medical bills, credit-card and utility bills, deposited checks — and shred the paper if you have reliable electronic access.

    Keep at least 3 years (IRS general guidance + FTC): tax returns and tax-related documents (W-2s, 1099s, receipts that support deductions). The IRS may need longer in special cases (for example, certain loss claims, or indefinitely if no return was filed).

    Keep until the property is sold or the issue is resolved: home improvement receipts (until sale plus the capital-gains period), disputed medical bills, and warranties while still active.

    Shred sooner: ATM receipts, credit and insurance offers, expired IDs and cards, old prescriptions, cleared non-tax checks after about 14 days, expired warranties.

    Always shred anything with account numbers, SSNs, or signatures before discarding.

    Common paperwork mistakes

    • Sorting before gathering. If half the mail is still in the car, your file system is incomplete before you start.
    • Buying organizers first. Run two monthly hours with a cardboard file box. Buy only what you still need after that.
    • Keeping everything “just in case.” That is how filing cabinets become landfills. Use the keep windows above, then shred.
    • Skipping Pending. Disputed bills and open claims need their own zone so they do not get lost in Active or tax files.
    • Never emptying the inbox. The habit only works if the tray starts clear each month.

    Make it stick

    Pick a recurring slot — first Sunday evening, payday evening, or the night before you pay rent. Attach it to something you already do. Set a 60-minute timer and stop when it rings. Unfinished items go to Pending with a note; they do not get to recolonize the kitchen.

    If you are also resetting the kitchen or laundry that week, the Weekly Home Reset Routine shows how paperwork fits into a light weekly rhythm without turning your weekend into a chore marathon.

    Get the free printable

    Start with the free Reset Week Starter: a 7-day reset calendar with a weekly paperwork slot, plus a freezer inventory sheet. Download it free

    Save this for later

    Pin it to your home or cleaning board so the checklist is there on reset day.
    Pinterest pin: Paperwork Hour. A monthly system for bills, mail, and forms. Checklist: Gather every piece of mail; Sort: keep, pay, shred, file; File into 4 simple zones.
    Home Reset Week printable bundle, $5

    Printable bundle · $5 launch price

    Get every checklist in one place

    The Home Reset Week bundle has 8 printable resets (fridge, freezer, pantry, drawers, laundry, paperwork, medicine cabinet, entryway) plus a holiday kitchen prep timeline.
  • The Weekly Home Reset Routine (Start Here)

    The Weekly Home Reset Routine (Start Here)

    Most homes don’t get messy all at once. The fridge fills up with half-used jars, the mail pile creeps across the counter, and the laundry room turns into a storage closet. A weekly home reset is a short, repeatable routine that catches each of those spots before it becomes a weekend project.

    This page is the hub for the whole routine. It walks through the seven-day plan, explains how long each reset takes, and links to the step-by-step guide for each area as it is published.

    Free printable: Get the Reset Week Starter — a one-page 7-day reset calendar plus a freezer inventory sheet. Download it free

    What a “reset” is (and isn’t)

    A reset is not deep cleaning. You’re not scrubbing grout or washing walls. A reset is a quick pass through one area to put things back where they belong, toss what’s expired or broken, and note what you need to restock. Most resets take 10 to 20 minutes.

    The point is consistency. Doing one small reset a day means no single area is ever more than a week out of order.

    The 7-day plan

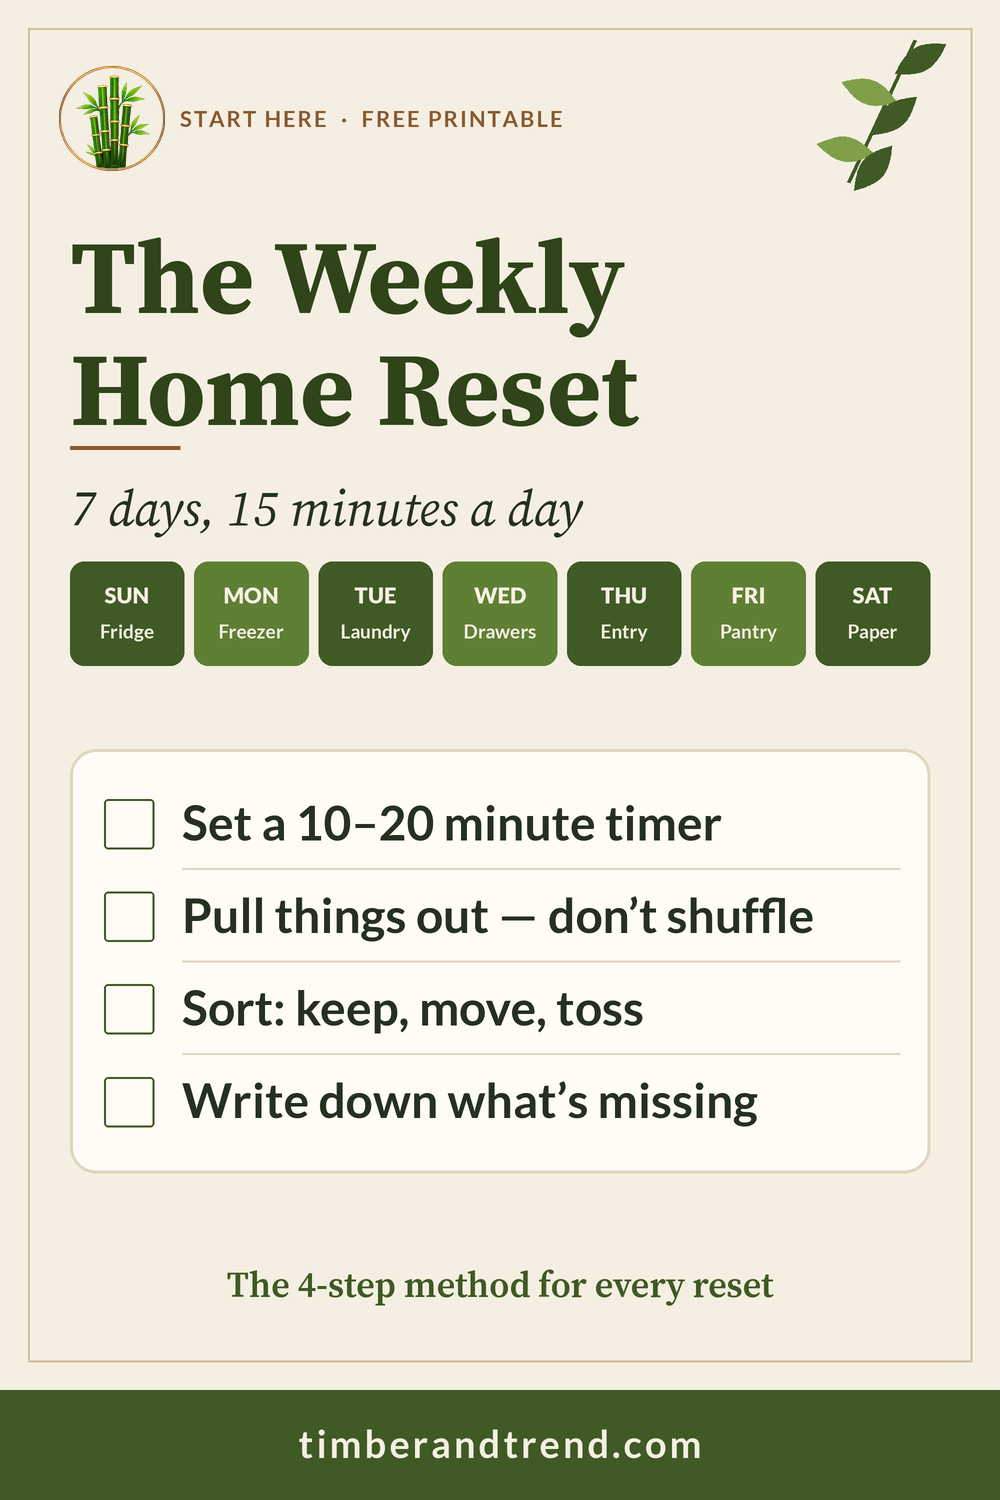
    Day Area Time What you’re doing
    Sunday Fridge 15 min Toss leftovers past their date, wipe one shelf, make a “use first” zone, write the shopping list
    Monday Freezer 10 min Update the freezer inventory, move older items to the front
    Tuesday Laundry room 15 min Clear the folding surface, match socks, restock detergent and stain spray
    Wednesday Kitchen drawers 20 min Empty one drawer, sort keep/move/toss, put back only what belongs
    Thursday Entryway 10 min Return shoes, bags, and coats to their spots; clear the key and mail landing zone
    Friday Medicine cabinet or pantry (alternate weeks) 15 min Check expiry dates, group like items, add to the restock list
    Saturday Paperwork 15 min weekly, 1 hour monthly Sort the mail pile, file or shred, note bills due next week

    You can shuffle the days to fit your week. The only rule that matters is one area per day, with a timer.

    How to run each reset

    Every reset follows the same four steps, which is what makes it stick:

    1. Set a timer. Ten to twenty minutes. When it goes off, you stop, even if you’re not done. Next week picks up where you left off.
    2. Pull out, don’t shuffle. Take things out of the space instead of rearranging them in place. It’s faster to decide on items you’re holding.
    3. Sort into three piles: keep here, belongs somewhere else, and toss or donate.
    4. Write down what’s missing. Every reset ends with a short restock note. That note becomes your shopping list, so you stop buying things you already have.

    The resets, one by one

    Each area gets its own step-by-step guide. Here are the ones published so far:

    Kitchen resets

    Laundry and linens

    Paper and admin

    • Paperwork Hour — a monthly system for bills, mail, and forms, plus a keep-or-shred guide.
    • Medicine Cabinet Clean-Out — what to toss, keep, and restock, plus how to get rid of old meds safely.
    • Entryway Drop Zone — keys, bags, and shoes sorted. (Guide coming soon.)

    Beyond the resets

    The site has grown two more pillars. They use the same small-steps idea, just pointed at your things and your time.

    Making it stick

    A few things that help the routine survive a busy month:

    • Keep the checklist where the reset happens. A fridge checklist on the fridge door gets used. One in a drawer doesn’t.
    • Pair it with something you already do. Fridge reset before you write the grocery list. Entryway reset when you get home Thursday.
    • Skip a day, don’t restart. Missing Wednesday doesn’t mean starting over on Sunday. Just do Thursday’s reset on Thursday.
    • Track restock notes in one place. One list on the fridge or one note on your phone, not scraps of paper in five rooms.

    What you’ll need

    Almost nothing. A timer, a trash bag, a box for “belongs somewhere else,” and the printable checklists. Containers and organizers are optional; every guide on this site works with what you already own, and any product suggestions are clearly marked.

    Start this week

    Pick tonight’s day on the chart above and do just that one reset. Tomorrow, do the next. By next Sunday you’ll have touched every area once, and the second week is always faster than the first.

    Free printable: The Reset Week Starter puts the whole 7-day plan on one page, with a freezer inventory sheet to go with it. Download it free

    Getting ready for the holidays? The Holiday Kitchen Prep guide turns the fridge, freezer, and pantry resets into a three-week Thanksgiving plan.

    Save this for later

    Pin it to your home or cleaning board so the checklist is there on reset day.

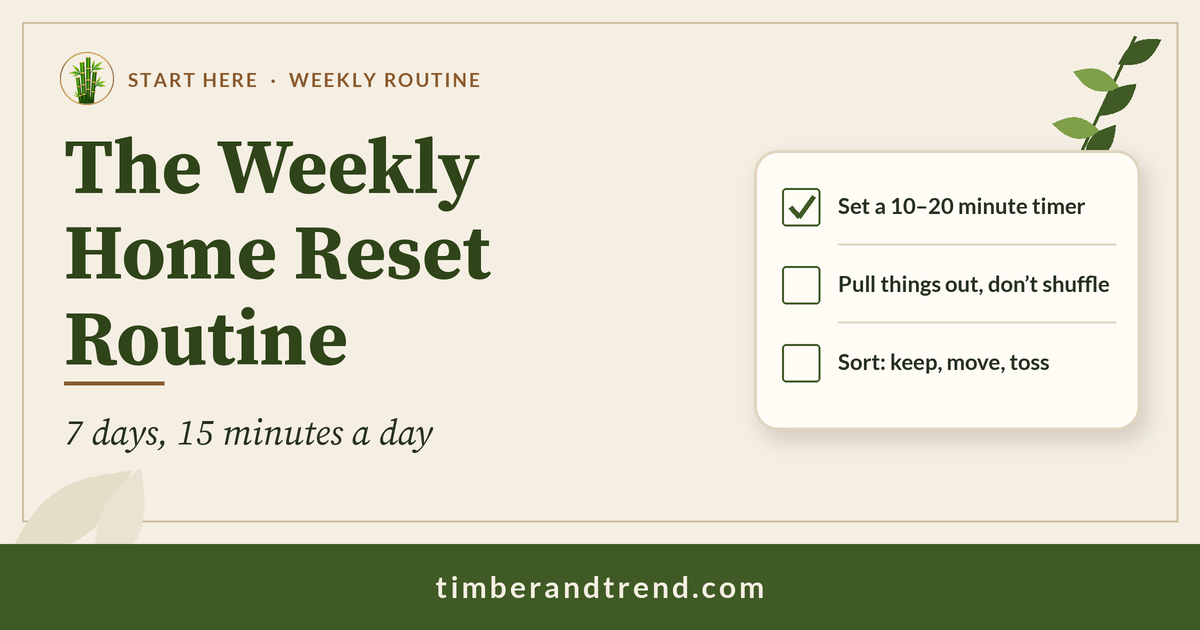
    Pinterest pin: The Weekly Home Reset Routine. 7 days, 15 minutes a day. Checklist: Set a 10–20 minute timer; Pull things out, don’t shuffle; Sort: keep, move, toss.
    Home Reset Week printable bundle, $5

    Printable bundle · $5 launch price

    Get every checklist in one place

    The Home Reset Week bundle has 8 printable resets (fridge, freezer, pantry, drawers, laundry, paperwork, medicine cabinet, entryway) plus a holiday kitchen prep timeline.