Category: Kitchen Resets

Short, repeatable resets for the fridge, freezer, and pantry. Each one takes 15 to 20 minutes, uses what you already own, and ends with a restock list so you stop buying things you already have.

  • Pantry Reset Without Buying a Single Container

    Pantry Reset Without Buying a Single Container

    A lot of pantry advice is really a shopping list for matching jars. You don’t need them. A pantry reset that sticks starts with what you already own: empty one shelf, toss what’s done, give every category a home, and write the restock list before you shop.

    That’s pantry organization on a budget. No container haul, and no system that collapses by Thursday.

    Free printable: Put this on the calendar with the Reset Week Starter on the Free Printable page. A slot in your week beats a board full of pantry photos you never open.

    Why pantries fall apart

    It’s the same three habits that wreck the fridge and the medicine cabinet:

    • Backstock hides the truth. You buy pasta because you can’t see the three boxes behind the cereal.
    • Zones never got named. Snacks land wherever there’s a gap, so the everyday stuff and the once-a-year stuff share a shelf.
    • The list happens at the store. You shop from memory, then come home to duplicates.

    Containers don’t fix any of that. Zones and a restock list do.

    What you need (and what you don’t)

    You need:

    • A trash bag and a damp cloth.
    • A notepad, or a restock list with Have and Buy columns.
    • Masking tape and a marker for temporary shelf labels.
    • Twenty minutes and one shelf.

    You don’t need:

    • A set of matching canisters.
    • A whole Saturday spent emptying the pantry onto the floor.
    • New shelving, unless something’s actually broken.

    Later, and only if a problem survives two weeks of zones, one small tool can help: a tiered shelf riser for cans, or a turntable for oils in a deep corner. Most pantries get better without either.

    The 20-minute pantry reset

    Work one shelf at a time. Dumping the whole pantry is how people burn out and shove everything back worse than before.

    1. Pull one shelf (3 minutes)

    Take everything off. Wipe the shelf. While you’re at it, check the overflow spots: the top of the fridge, the bulk corner in the laundry room, the snack drawer if snacks live there instead.

    2. Toss what’s done (4 minutes)

    Stale crackers, the open bag of something from last spring, and anything bugs have found all go. So do swollen, leaking, or badly rusted cans, and any can with a deep dent (one you can lay a finger in) or a dent on a seam. That’s straight from USDA’s Food Safety and Inspection Service, which also says to keep canned goods in a cool, dry spot, not above the stove or under the sink. (USDA FSIS: Shelf-Stable Food Safety)

    FSIS also notes that dates on shelf-stable food are about quality, not safety, so a slightly old box of pasta can be fine. Use your judgment: if it smells off or you wouldn’t cook with it tonight, it doesn’t earn the shelf.

    3. Group like with like (5 minutes)

    Make piles on the counter before anything goes back:

    • Grains and pasta
    • Cans and jars
    • Baking supplies
    • Breakfast and snacks
    • Oils, sauces, and spices
    • Household stuff (foil, bags, paper towels), if it lives here

    You’re not alphabetizing. You’re ending the scavenger hunt.

    4. Assign zones (5 minutes)

    Give every pile a home that matches how you actually cook. A zone map that works in most kitchens:

    Zone What lives there
    Top shelf Backstock and rarely used: extra paper goods, holiday baking, bulk refills
    Eye level: everyday meals Pasta, rice, grains, sauces, canned beans and tomatoes
    Eye level: breakfast and snacks Cereal, oats, nut butter, crackers, a kids’ snack bin
    Middle: baking Flour, sugar, baking soda and powder, spices, oils
    Low shelf Heavy and bulk: drinks, big cans, potatoes and onions (kept apart)
    Door or front bin Grab-and-go lunch-box items, bars, and a “use me first” basket

    Write your zone name on a strip of tape and stick it on the shelf edge. It’s ugly. It works.

    Then put the oldest items in front and the newest behind. First in, first out. That one habit cuts more waste than any pretty jar, and it’s the same idea as the “eat first” bin in the fridge reset.

    5. Write the restock list before you close the door (3 minutes)

    This is the step that makes the whole thing pay off. While the shelf is open, mark Have or Buy for what you actually saw:

    • Rice, pasta, oats
    • Beans, tomatoes, broth
    • Flour, sugar, baking powder
    • Cereal, nut butter, crackers
    • Cooking oil, vinegar, pasta sauce
    • Foil, storage bags, paper towels, if they live here

    Circle the Buys and snap a photo of the list before you shop. Don’t rebuild it from memory in aisle four. Prefer paper? Keep it with your other lists from the monthly Paperwork Hour.

    The “no new containers” rule

    Live with your zones for two weeks before you buy anything organizational.

    A lot of what gets bought after a pantry makeover is guilt shopping: cute bins for a mess that hasn’t been sorted yet. If one category still collapses after two weeks of labels and first-in-first-out, then buy one tool for that one problem. Not a matching set for the whole wall.

    What “one tool, one problem” looks like:

    • Cans stacked so deep you keep buying duplicates? One shelf riser.
    • Oils and vinegars lost in a corner? One turntable.
    • Kid snacks spread across three shelves? One open bin labeled “snacks,” not twelve mini jars.

    Everything else can wait. Using what you have is also the low-waste choice, which is why this post sits under both Kitchen Resets and Sustainable Living.

    Mistakes that undo the reset

    • Emptying the whole pantry at once. One shelf. Stop when the timer goes.
    • Buying containers first. Zones first, tools last, if at all.
    • Mixing backstock with everyday. The spare pasta goes up high; the open box stays at eye level.
    • Skipping the list. A reset that doesn’t change what you buy is just rearranging.
    • Storing potatoes and onions together. They’re commonly kept apart because they spoil faster side by side. Give them separate spots on the low shelf.

    How it fits the week

    The pantry shares Friday with the medicine cabinet on the Weekly Home Reset Routine, on alternate weeks. A full shelf-by-shelf pass once a month is plenty for most houses. A two-minute look at the restock list before each shop catches the gaps.

    Holiday baking season is when pantries get out of hand. If Thanksgiving is on your calendar, do this reset first, then follow the Holiday Kitchen Prep timeline so the extra groceries have somewhere to land. Planning to give edible gifts this year? The low-waste gifting guide has a few that start right here on the baking shelf.

    The Home Reset Week bundle includes a printable Pantry Zone Map and Restock List with blank “my shelf” lines.

    Quick recap

    1. One shelf at a time: pull, wipe, toss.
    2. Group like with like.
    3. Assign zones: backstock up top, everyday at eye level, heavy items low, grab-and-go by the door.
    4. Oldest in front, and label the shelf edge.
    5. Fill in the Have and Buy list before you shop.
    6. No new containers until the zones survive two weeks.

    Twenty minutes, zero jars, and a pantry you can actually cook from.

    Save this for later

    Pin it to your kitchen board so the zone map is there on reset day.
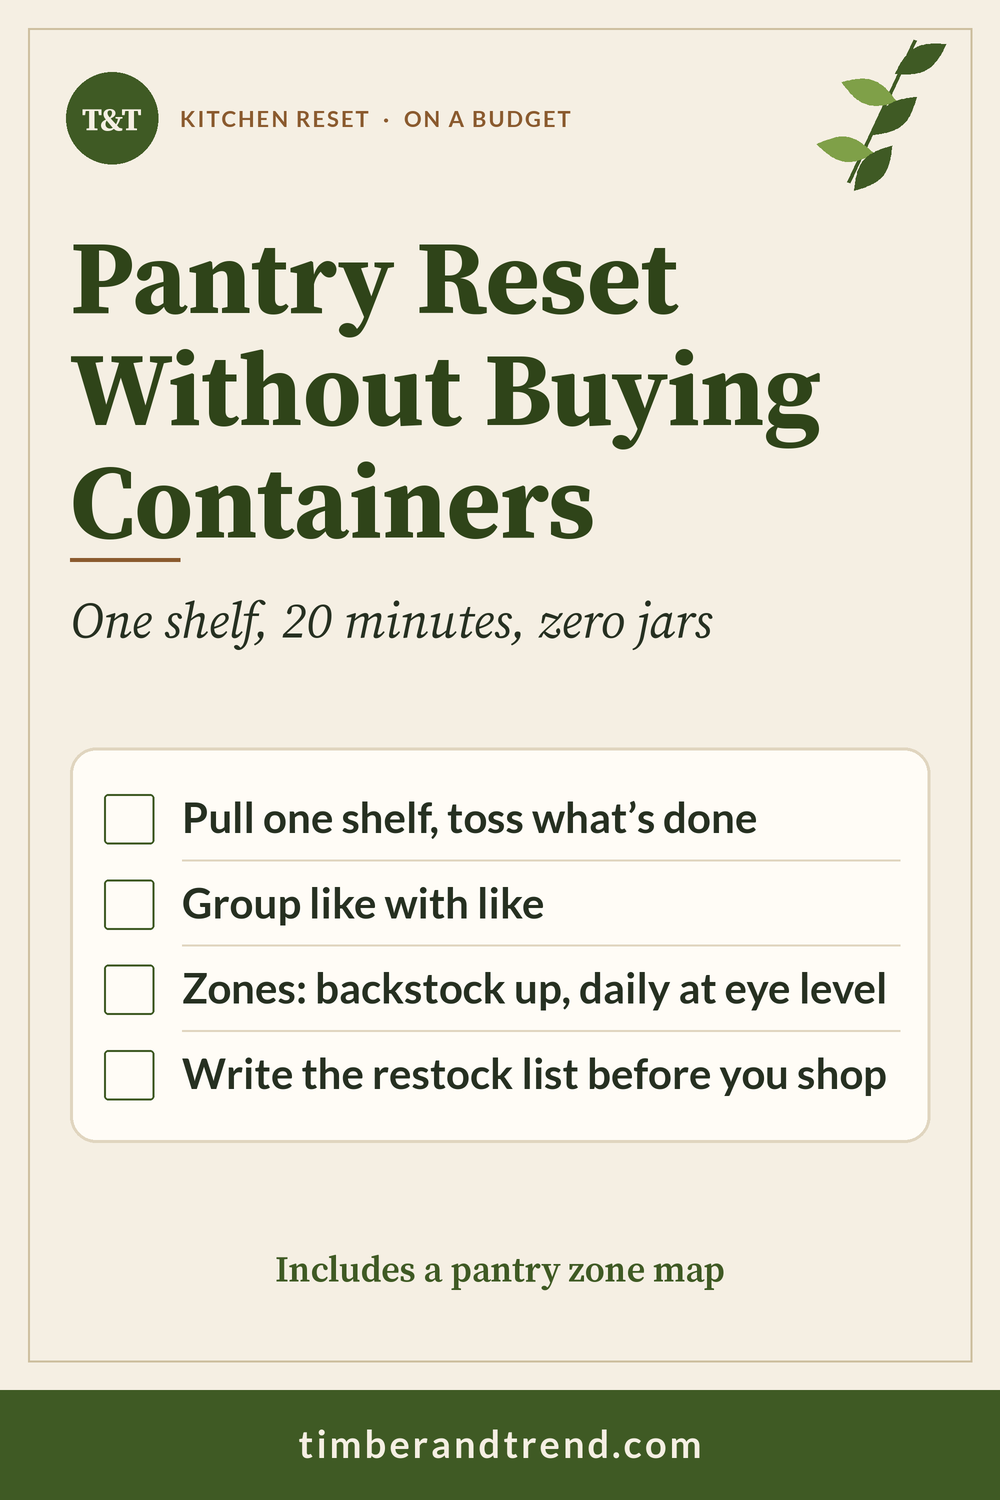
    Pinterest pin: Pantry Reset Without Buying Containers. One shelf, 20 minutes, zero jars. Checklist: Pull one shelf, toss what’s done; Group like with like; Zones: backstock up, daily at eye level; Write the restock list before you shop.
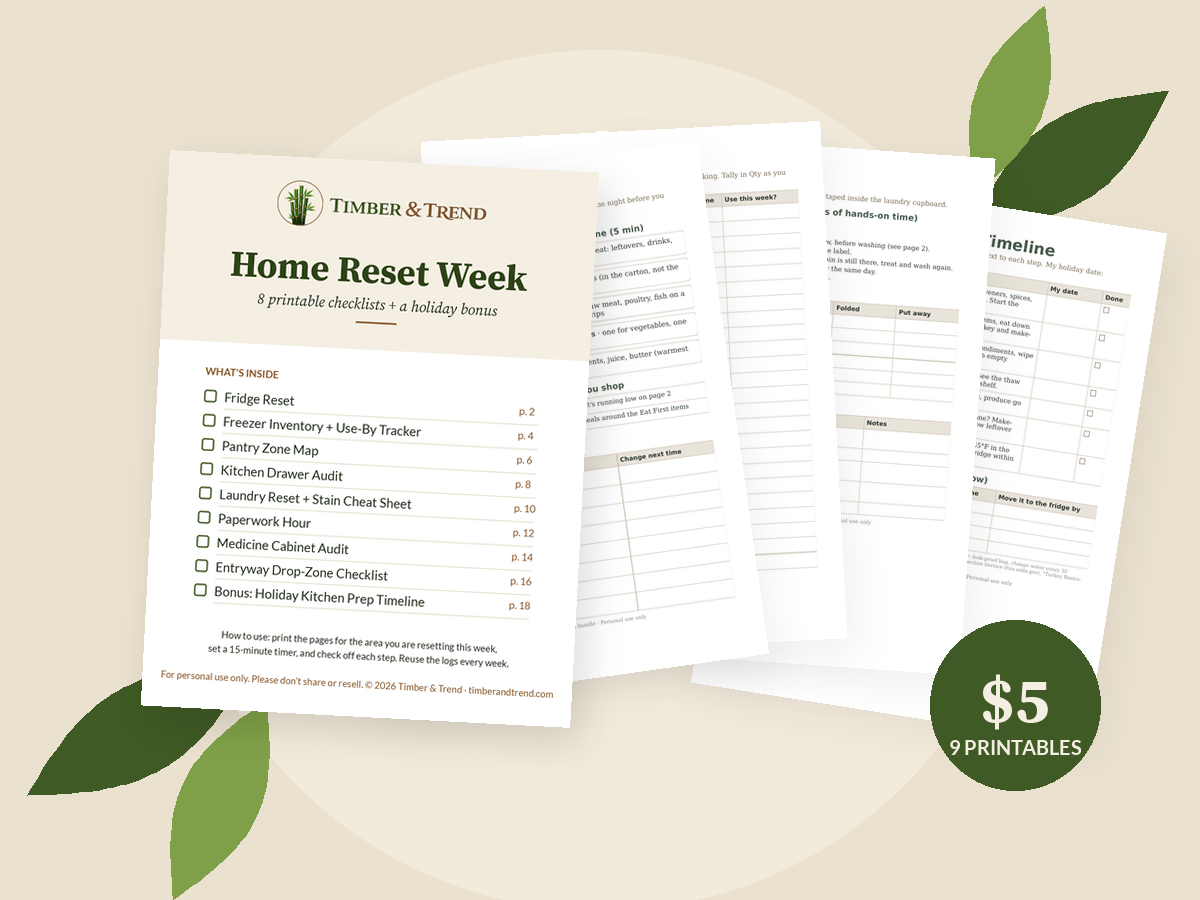
    Home Reset Week printable bundle, $5

    Printable bundle · $5 launch price

    Get every checklist in one place

    The Home Reset Week bundle has 8 printable resets (fridge, freezer, pantry, drawers, laundry, paperwork, medicine cabinet, entryway) plus a holiday kitchen prep timeline.
  • Holiday Kitchen Prep: Fridge, Freezer, and Pantry Reset Before Thanksgiving

    Holiday Kitchen Prep: Fridge, Freezer, and Pantry Reset Before Thanksgiving

    The hardest part of Thanksgiving usually isn’t the cooking. It’s the Tuesday night when you open the fridge, find it full of half-used condiments and last week’s leftovers, and realize the 18-pound turkey needs to fit in there for four days.

    This guide works backward from the big day. Three short resets, spread over three weeks, clear the fridge, freezer, and pantry before the holiday groceries arrive. None of them take more than 30 minutes.

    Free printable: The Reset Week Starter gives you a 7-day reset calendar you can use for the week before the holiday. Download it free

    The timeline at a glance

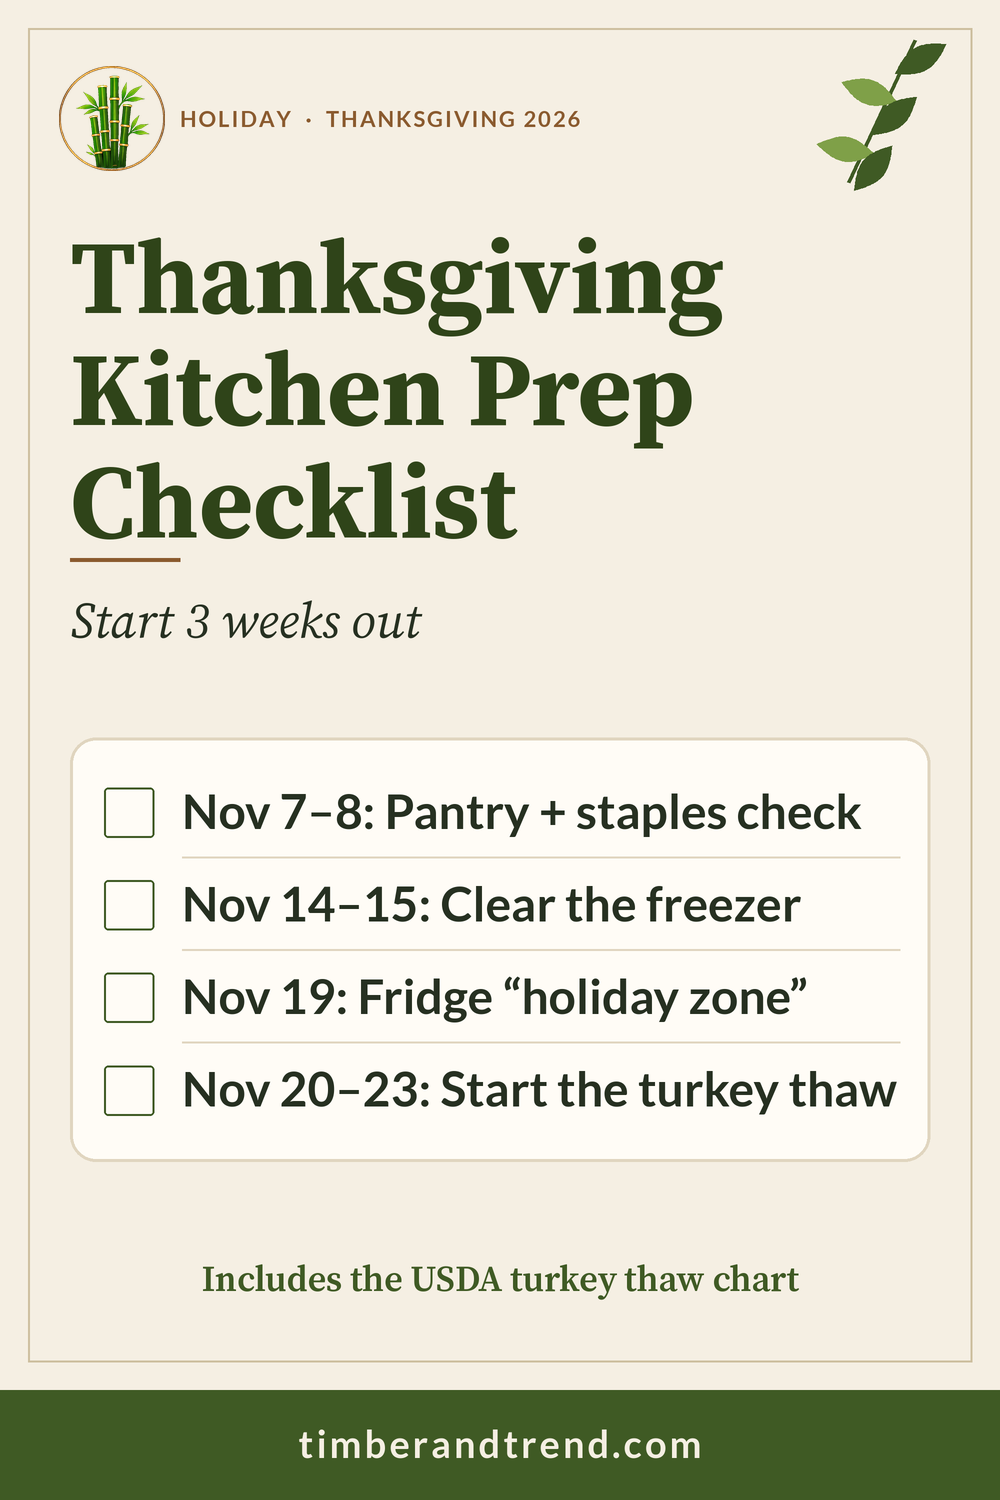
    Thanksgiving 2026 falls on Thursday, November 26. Here’s the plan:

    When Reset Time
    Weekend of Nov 7–8 Pantry reset and holiday staples check 30 min
    Weekend of Nov 14–15 Freezer reset (make room for the turkey and make-ahead dishes) 20 min
    Thursday, Nov 19 Fridge reset and “holiday zone” setup, before the turkey goes in 20 min
    Friday, Nov 20–Monday, Nov 23 Move a frozen turkey to the fridge to thaw (depends on size; see the chart below) 2 min
    Wednesday, Nov 25 Final check, cooler on standby 10 min

    If you’re reading this late, don’t worry. Start with whichever reset is next and skip ahead.

    Three weeks out: the pantry reset

    Holiday baking and side dishes run on pantry staples, and these are the things most likely to be stale, half-empty, or duplicated.

    1. Pull the holiday shelf first. Flour, sugar, brown sugar, baking soda and powder, spices, broth, canned pumpkin, cranberry sauce, stuffing mix. Check each one.
    2. Check the “quietly expired” items. Baking powder and baking soda lose strength over time, and ground spices fade. If a spice has no smell when you open it, it won’t add much flavor.
    3. Group by recipe, not by category. Put everything for the pie on one tray and everything for the stuffing in one bin. On cooking day you grab one container instead of hunting.
    4. Write the gaps down right away. This becomes the first half of your holiday shopping list, written two weeks early when prices and shelves are calmer.

    Two weeks out: the freezer reset

    The freezer has two jobs this month: hold the turkey (if you buy it frozen) and hold any make-ahead pies, rolls, or casseroles.

    1. Empty one shelf or basket at a time. Toss anything freezer-burned or unlabeled that you can’t identify.
    2. Eat down, don’t throw out. Move older soups, sauces, and meats to the front and plan two or three “freezer dinners” for the next two weeks. That’s real space freed up and a couple of nights you don’t have to cook.
    3. Measure the turkey spot. A whole bird needs a clear, flat shelf. Make room now, not the day you bring it home.
    4. Update your freezer inventory so you know what’s left after the clear-out.

    A week out: the fridge reset

    Do this before the turkey goes in. It’s your regular fridge reset with one extra goal: an empty “holiday zone.”

    1. Clear out. Toss anything past its time. Use up or freeze the rest of the week’s leftovers.
    2. Consolidate condiments. Combine duplicates and move rarely used jars to the door or a single bin. This one move often frees a whole shelf.
    3. Wipe the bottom shelf and keep it for the turkey and raw meat only.
    4. Make the holiday zone. One empty shelf (or half shelf) labeled for make-ahead dishes, cream, butter, and fresh herbs. Removable labels or a dry-erase marker keep the zone obvious to anyone helping in the kitchen.
    5. Plan for overflow. Drinks don’t need fridge space. A cooler with ice in the garage or on a cold porch handles them, but keep a thermometer in it so you know it’s staying cold.

    Thaw the turkey on time

    This is the step that catches people out every year. The USDA’s Food Safety and Inspection Service says to allow about 24 hours of refrigerator thawing for every 4 to 5 pounds of turkey, with the fridge at 40°F or below. A thawed turkey can then stay in the fridge for 1 to 2 days before cooking.

    Turkey size Fridge thawing time (USDA) Move it to the fridge no later than (for Thursday, Nov 26)
    4–12 lb 1–3 days Monday, Nov 23
    12–16 lb 3–4 days Sunday, Nov 22
    16–20 lb 4–5 days Saturday, Nov 21
    20–24 lb 5–6 days Friday, Nov 20

    Starting a day earlier than the latest date is fine, since a thawed turkey keeps 1 to 2 days in the fridge.

    Put the wrapped turkey on a tray or in a pan on the bottom shelf so juices can’t drip onto other food.

    Running behind? FSIS also allows cold-water thawing: keep the turkey in a leak-proof bag, submerge it in cold tap water, change the water every 30 minutes, and allow about 30 minutes per pound. A turkey thawed this way should be cooked right away.

    Whatever the method, FSIS says the turkey must reach a minimum internal temperature of 165°F, checked with a food thermometer in the thickest part of the breast, the innermost part of the wing, and the innermost part of the thigh. A good instant-read thermometer is the one tool on this list that’s worth buying if you don’t already have one.

    The day before: a 10-minute check

    • Is the turkey thawing on schedule?
    • Are the make-ahead dishes covered, labeled, and in the holiday zone?
    • Are there clean, shallow containers ready for leftovers?
    • Is the trash and recycling emptied so there’s room on Thursday?

    Leftovers: the last reset of the day

    FSIS advises refrigerating leftovers within 2 hours of serving (1 hour if it’s above 90°F), dividing them into smaller portions in shallow containers so they cool quickly, and using refrigerated turkey, stuffing, and gravy within 3 to 4 days. For longer storage, freeze them; FSIS says frozen leftover turkey is best used within 2 to 6 months for quality.

    Write the date on each container. On Monday, anything that won’t be eaten by Sunday night goes into the freezer, not the back of the fridge.

    Keep it simple

    You don’t need a new set of containers or a full kitchen makeover. You need three short resets, a thaw date on the calendar, and one empty shelf. That’s what makes Thanksgiving week feel calm instead of crowded.

    Free printable: The Reset Week Starter gives you a 7-day reset calendar and a freezer inventory sheet for the weeks before the holiday. Download it free

    Related guides

    Save this for later

    Pin it to your home or cleaning board so the checklist is there on reset day.

    Pinterest pin: Holiday Kitchen Prep. Fridge, freezer, and pantry reset before Thanksgiving. Checklist: Pantry + staples check; Clear the freezer; Start the turkey thaw.
    Home Reset Week printable bundle, $5

    Printable bundle · $5 launch price

    Get every checklist in one place

    The Home Reset Week bundle has 8 printable resets (fridge, freezer, pantry, drawers, laundry, paperwork, medicine cabinet, entryway) plus a holiday kitchen prep timeline.
  • The 15-Minute Fridge Reset: A Sunday Checklist That Actually Sticks

    The 15-Minute Fridge Reset: A Sunday Checklist That Actually Sticks

    Most fridge organizing advice starts with buying a dozen clear bins. This one starts with a timer. A fridge reset is a short, repeatable routine: clear out what’s past its time, wipe one shelf, and put things back where they belong. Do it the night before you shop and you’ll buy less, waste less, and actually see what you have.

    The first reset takes about 45 minutes. After that, 15 minutes a week keeps it there.

    Free printable: The Reset Week Starter gives you a 7-day reset calendar so the fridge gets its own slot in the week. Download it free

    Why a weekly reset beats a big clean-out

    A once-a-year deep clean feels great for about ten days. Then leftovers pile up again, the back of the shelf turns into a mystery zone, and you’re buying a second jar of mustard. A small weekly reset works better because:

    • It’s short enough that you’ll actually do it.
    • It catches leftovers before they turn, not after.
    • It lines up with shopping, so your list is built from what’s really missing.

    Step 1: Clear out (5 minutes)

    Pull out every leftover container and check it. A useful rule from FoodSafety.gov: cooked leftovers, soups, stews, and pizza keep about 3 to 4 days in the fridge. If you can’t remember when you made it, that’s your answer.

    While you’re there, check the usual suspects:

    • Opened lunch meat or deli slices: 3 to 5 days.
    • Opened hot dogs: about 1 week.
    • Bacon: about 1 week.
    • Prepared salads (egg, chicken, tuna, macaroni): 3 to 4 days.

    Toss spoiled produce and empty containers. Anything that’s still good but needs eating soon goes into one spot: your Eat First shelf or bin.

    Step 2: Wipe one zone (5 minutes)

    You don’t need to scrub the whole fridge every week. Wipe the shelf you just emptied, then do a quick pass on anything sticky: the crisper drawers, door shelves, and the handle. Rotate which shelf gets the full wipe so the whole fridge gets covered every month or so.

    A washable shelf liner makes this faster, since you can pull it out and rinse it instead of wiping around jars.

    Step 3: Check the temperature (30 seconds)

    Your fridge should be at 40°F (4°C) or below, and the freezer at 0°F (-18°C) or below. The dial on many fridges is just numbers, not degrees, so an inexpensive fridge thermometer is the only way to really know. Check it once now, then every month or so.

    Step 4: Put things back by zone (5 minutes)

    Zones mean you stop moving five things to find one. A simple setup:

    • Top shelf: ready-to-eat food. Leftovers, drinks, and the Eat First bin.
    • Middle shelf: dairy and eggs. Keep eggs in their carton on a shelf, not in the door, since the door is the warmest spot.
    • Bottom shelf: raw meat, poultry, and fish, on a tray or in a bin so nothing drips onto other food.
    • Crisper drawers: one for vegetables, one for fruit.
    • Door: condiments, juice, and butter, which handle the temperature swings best.

    You don’t need matching containers for this. Use what you have; a baking tray works fine as a raw-meat catch tray.

    Step 5: Write two lines before you shop

    This is the step that makes the reset pay off. Before you close the door, write down:

    1. What’s running low. That’s the start of your shopping list.
    2. Two meals built around the Eat First items. That’s how the “use it up” shelf actually gets used.

    Labels help here too. If you date leftovers when they go in, Step 1 next week takes half the time. Masking tape and a marker are enough; dry-erase labels are nice if you want something reusable.

    How long does food last in the fridge?

    These times are for a fridge at 40°F (4°C) or below, from the FoodSafety.gov Cold Food Storage Chart:

    Food Fridge
    Cooked meat or poultry leftovers 3–4 days
    Soups and stews 3–4 days
    Pizza 3–4 days
    Egg, chicken, tuna, or macaroni salad 3–4 days
    Lunch meat, opened or deli-sliced 3–5 days
    Hot dogs, opened 1 week
    Bacon 1 week
    Hard-cooked eggs 1 week
    Raw eggs in shell 3–5 weeks
    Raw ground meat or ground poultry 1–2 days
    Raw chicken or turkey 1–2 days
    Raw steaks, chops, roasts 3–5 days
    Raw fish 1–3 days

    When in doubt, throw it out. These charts are guidelines, and smell isn’t a reliable test.

    Common fridge reset mistakes

    • Organizing before purging. Clear out first, or you’re just arranging old food more neatly.
    • Buying containers first. Live with your zones for two weeks, then buy only what you’re missing.
    • Overpacking. Cold air needs room to move; a crammed fridge cools unevenly.
    • Skipping the list. The reset only saves money if it changes what you buy.

    Make it a routine

    Pick one night, ideally the night before your usual shopping day, and attach the reset to something you already do, like running the dishwasher after dinner. Set a 15-minute timer and stop when it goes off. Next week, you’ll be faster.

    If you’re doing the freezer too, our freezer inventory guide pairs with this, and the Weekly Home Reset Routine shows how the fridge fits into the rest of the week. The pantry reset uses the same zones-before-containers rule for dry goods, and if your grocery list lives on paper, the monthly Paperwork Hour is a good home for the rest of your lists.

    Get the free printable

    The Reset Week Starter is a free two-page PDF: a 7-day reset calendar that gives the fridge its own slot, plus a freezer inventory sheet. Download it free

    Save this for later

    Pin it to your home or cleaning board so the checklist is there on reset day.

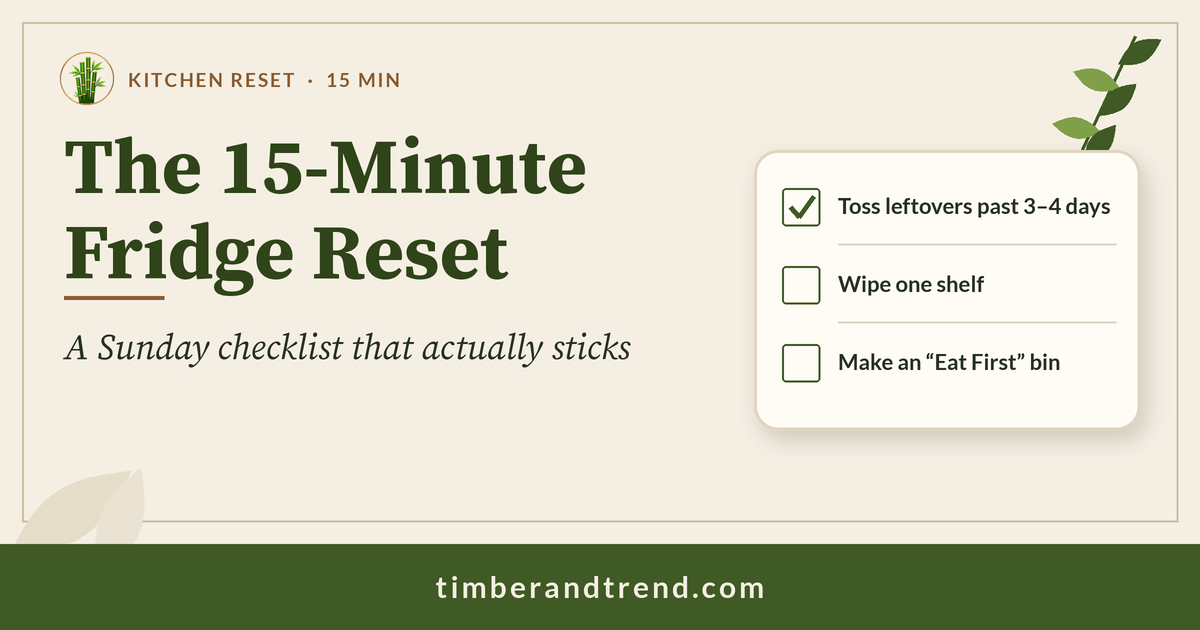
    Pinterest pin: The 15-Minute Fridge Reset. A Sunday checklist that actually sticks. Checklist: Toss leftovers past 3–4 days; Wipe one shelf; Make an “Eat First” bin.
    Home Reset Week printable bundle, $5

    Printable bundle · $5 launch price

    Get every checklist in one place

    The Home Reset Week bundle has 8 printable resets (fridge, freezer, pantry, drawers, laundry, paperwork, medicine cabinet, entryway) plus a holiday kitchen prep timeline.
  • Freezer Inventory Made Easy: Stop Buying Things You Already Have

    Freezer Inventory Made Easy: Stop Buying Things You Already Have

    If you’ve ever come home from the store with ground beef only to find two packs already buried in the freezer, you don’t have a space problem. You have a visibility problem. A freezer inventory fixes that with one sheet of paper and about ten minutes a week.

    This guide walks through setting up a simple inventory, splitting the freezer into zones, and keeping the list current without it turning into a chore.

    Free printable: The Reset Week Starter includes a ready-to-use freezer inventory sheet with item, quantity, date frozen, use-by, and zone columns. Download it free

    Why a freezer inventory saves money

    Food in the freezer doesn’t disappear, it just gets forgotten. Things slide to the back, frost over, and get thrown out months later. A written list does three things:

    • You stop double-buying, because you check the list before you shop.
    • You use older food first, because the dates are in front of you.
    • Meal planning gets faster, because the list tells you what’s already on hand.

    Step 1: Empty and sort (20 minutes, once)

    Pick a time when the freezer is fairly low, such as the day before a big shop. Have a cooler or a couple of insulated bags ready so nothing thaws while you work.

    1. Take everything out and group it on the counter by type: meat and fish, vegetables and fruit, cooked meals and leftovers, bread and baking.
    2. Toss anything with heavy freezer burn, torn packaging you can’t identify, or no idea of when it went in.
    3. Wipe the shelves or bins while they’re empty.

    Step 2: Set up four zones

    Zones mean you always know where to look. The free sheet uses these four:

    Zone What goes there
    A Meat and fish
    B Vegetables and fruit
    C Cooked meals and leftovers
    D Bread and baking

    In an upright freezer, give each zone a shelf or a door section. In a chest freezer, use bins or reusable bags so you can lift a whole zone out instead of digging.

    Put the oldest items at the front or top of each zone.

    Step 3: Write it down

    Fill in one line per item:

    • Item: be specific (“chicken thighs, 2 lb” beats “chicken”).
    • Qty: count of packs or portions.
    • Date frozen: your best guess for older things is fine.
    • Use by: your own target for best quality (see the chart below).
    • Zone: A, B, C, or D.

    Label new packages before they go in, with the item and date. A roll of freezer tape and a marker works; a small label maker is faster if you already like using one.

    How long food keeps its quality in the freezer

    FoodSafety.gov notes that food kept continuously at 0°F (-18°C) or below stays safe indefinitely. The times below are for quality, meaning taste and texture, which is what your “use by” column is tracking.

    Food Freezer quality time
    Ground meat and ground poultry 3 to 4 months
    Steaks, chops, roasts (beef, pork, lamb) 4 to 12 months
    Chicken or turkey pieces 9 months
    Whole chicken or turkey 1 year
    Bacon 1 month
    Raw sausage 1 to 2 months
    Fatty fish (salmon, tuna, mackerel) 2 to 3 months
    Lean fish (cod, flounder, haddock) 6 to 8 months
    Soups and stews 2 to 3 months
    Cooked meat or poultry leftovers 2 to 6 months
    Pizza 1 to 2 months

    Source: FoodSafety.gov Cold Food Storage Chart.

    Step 4: Keep it current (2 minutes per use)

    The list only works if it stays accurate. Two habits make that easy:

    • Tape the sheet to the freezer door or the inside of a nearby cabinet, with a pen on a string.
    • Cross off as you take, add as you put in. A tally mark in the Qty box is enough.

    Once a week, during your freezer reset (Monday in the weekly home reset routine), copy anything still in date onto a fresh sheet and circle the items to use that week.

    Step 5: Shop from the list

    Before writing a grocery list, check the circled “use this week” items and plan two or three meals around them. Then check the inventory for anything you were about to buy. This is where the money comes back.

    The same shelf-by-shelf habit works in the cupboard: the pantry reset uses zones and a restock list instead of new containers. And if a paper list on the door suits you, the monthly Paperwork Hour runs on the same idea for bills and mail.

    Common freezer inventory mistakes

    • Too much detail. You don’t need weights to the ounce. Item, count, and date are what matter.
    • No zones. A list without zones still means digging.
    • Freezing food in bulky containers. Flat, labeled bags stack and thaw faster.
    • Letting the sheet get stale. If it’s been three weeks, start fresh rather than trying to reconcile.

    Get the free sheet

    The Reset Week Starter includes the freezer inventory sheet plus a one-page 7-day reset calendar so the freezer becomes one small piece of a weekly routine. Download it free

    Save this for later

    Pin it to your home or cleaning board so the checklist is there on reset day.

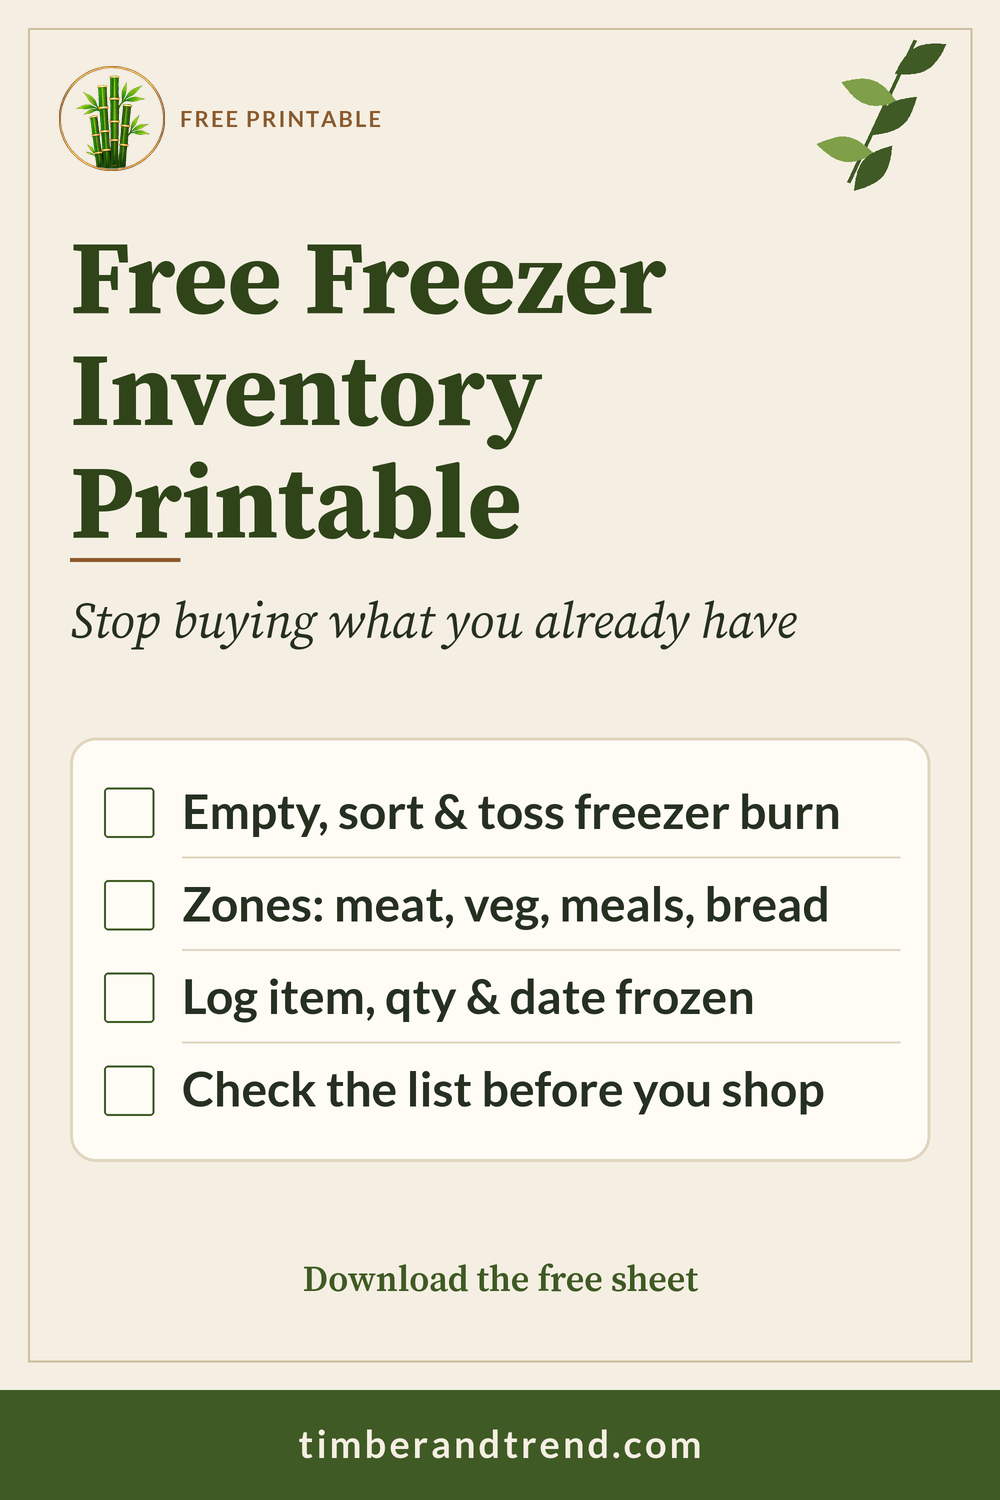
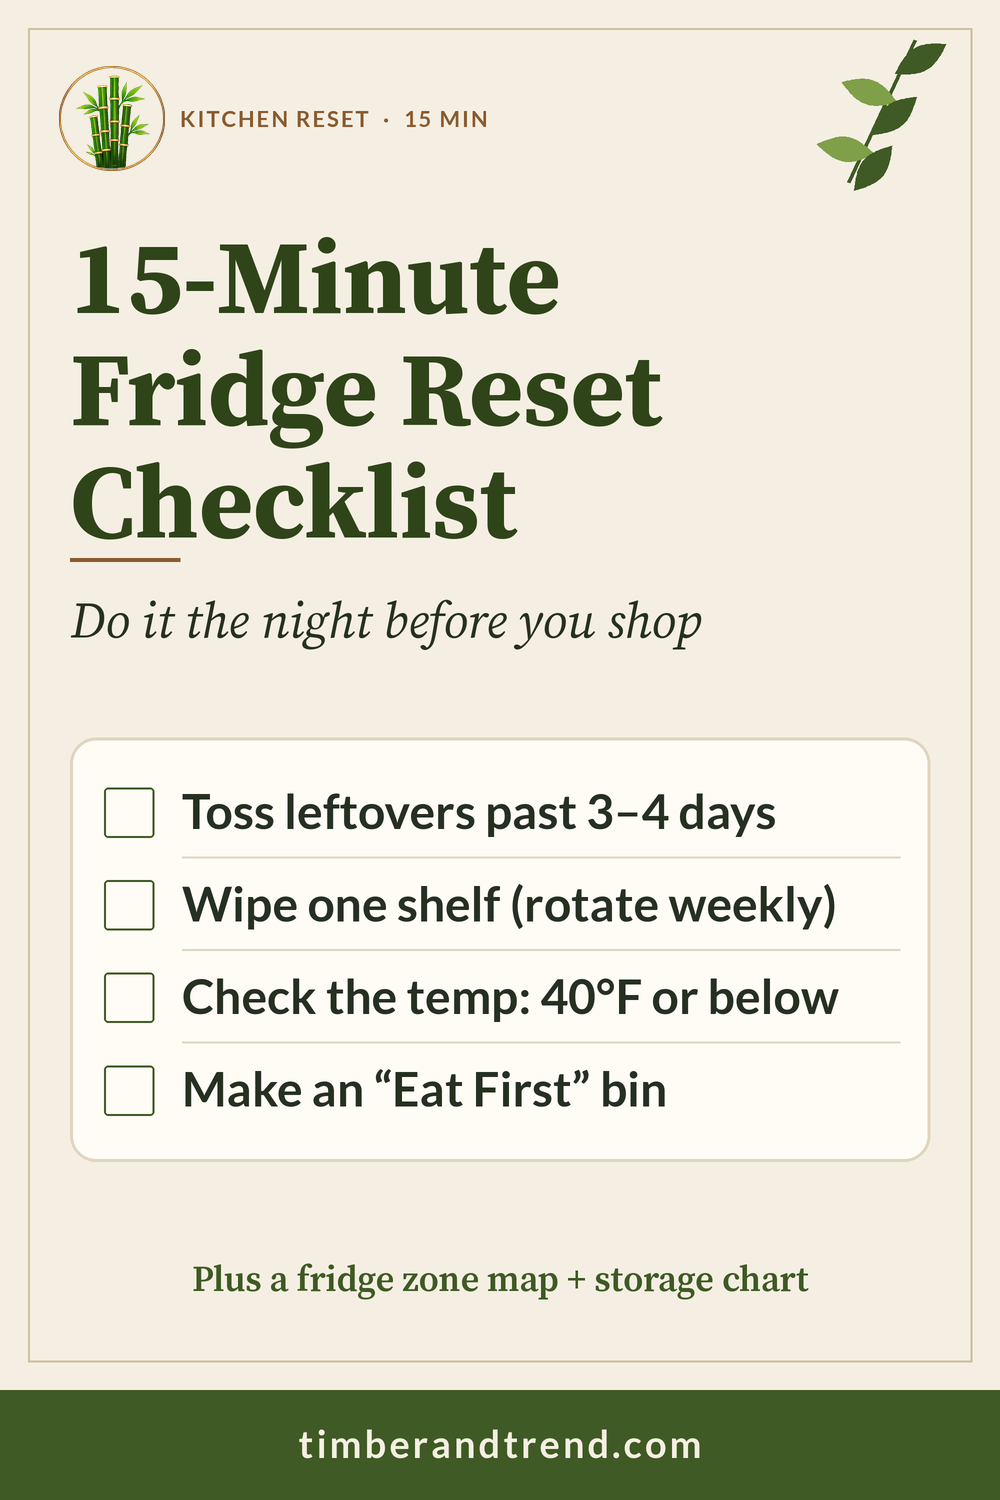
    Pinterest pin: Freezer Inventory Made Easy. Stop buying things you already have. Checklist: Empty, sort & toss; Zone it: meat, veg, meals; Log item, qty & date.
    Home Reset Week printable bundle, $5

    Printable bundle · $5 launch price

    Get every checklist in one place

    The Home Reset Week bundle has 8 printable resets (fridge, freezer, pantry, drawers, laundry, paperwork, medicine cabinet, entryway) plus a holiday kitchen prep timeline.
  • The Weekly Home Reset Routine (Start Here)

    The Weekly Home Reset Routine (Start Here)

    Most homes don’t get messy all at once. The fridge fills up with half-used jars, the mail pile creeps across the counter, and the laundry room turns into a storage closet. A weekly home reset is a short, repeatable routine that catches each of those spots before it becomes a weekend project.

    This page is the hub for the whole routine. It walks through the seven-day plan, explains how long each reset takes, and links to the step-by-step guide for each area as it is published.

    Free printable: Get the Reset Week Starter — a one-page 7-day reset calendar plus a freezer inventory sheet. Download it free

    What a “reset” is (and isn’t)

    A reset is not deep cleaning. You’re not scrubbing grout or washing walls. A reset is a quick pass through one area to put things back where they belong, toss what’s expired or broken, and note what you need to restock. Most resets take 10 to 20 minutes.

    The point is consistency. Doing one small reset a day means no single area is ever more than a week out of order.

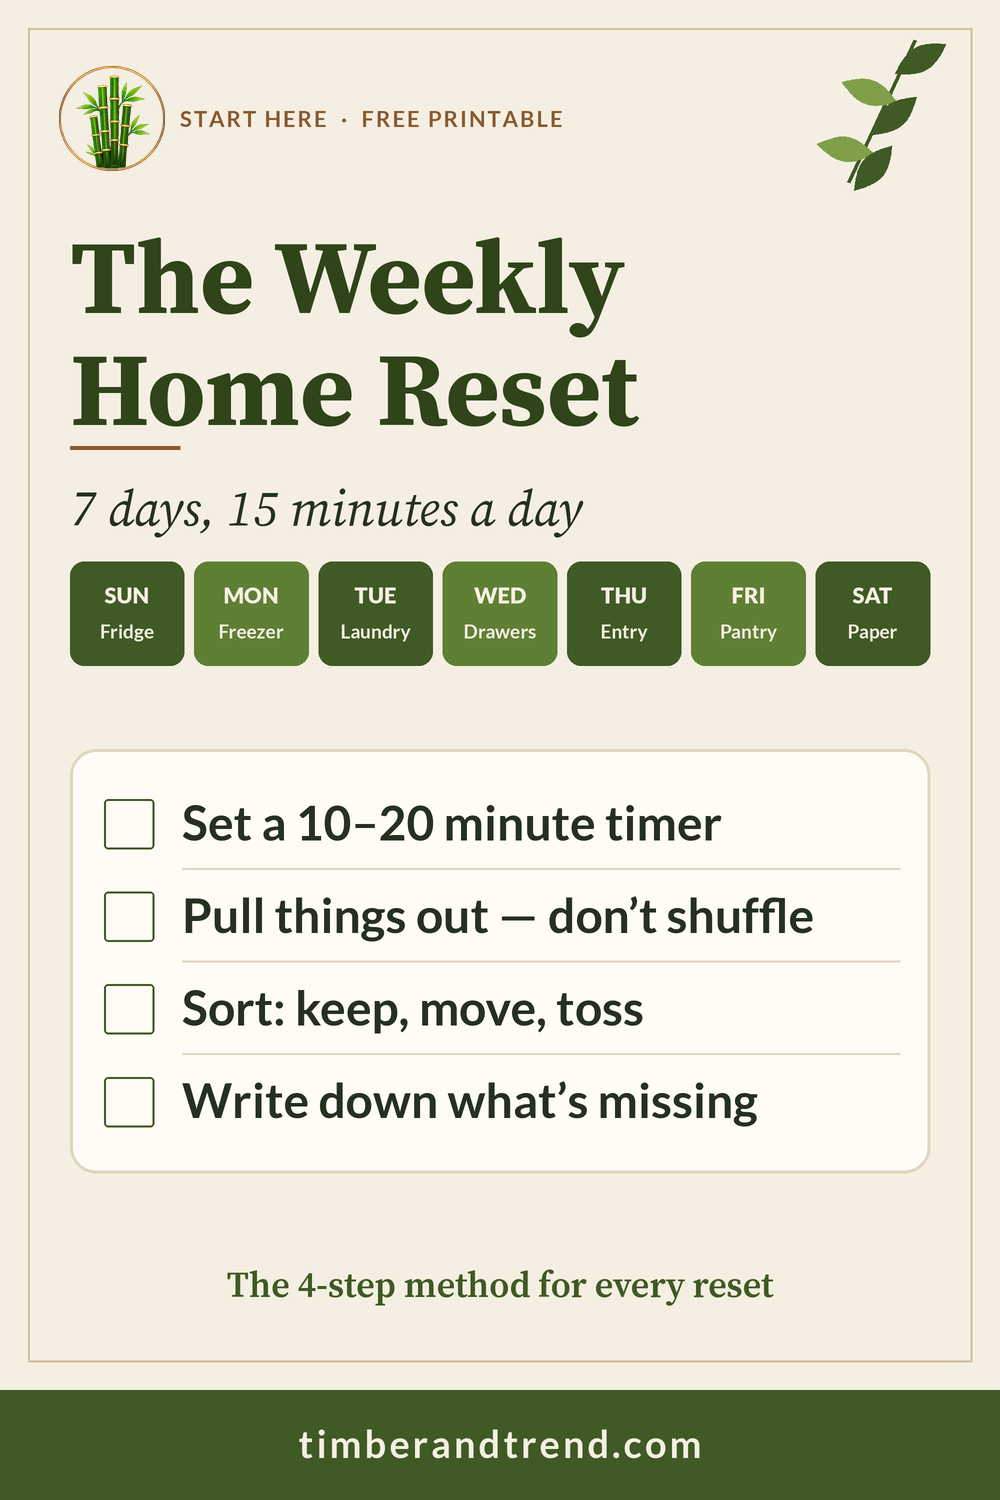
    The 7-day plan

    Day Area Time What you’re doing
    Sunday Fridge 15 min Toss leftovers past their date, wipe one shelf, make a “use first” zone, write the shopping list
    Monday Freezer 10 min Update the freezer inventory, move older items to the front
    Tuesday Laundry room 15 min Clear the folding surface, match socks, restock detergent and stain spray
    Wednesday Kitchen drawers 20 min Empty one drawer, sort keep/move/toss, put back only what belongs
    Thursday Entryway 10 min Return shoes, bags, and coats to their spots; clear the key and mail landing zone
    Friday Medicine cabinet or pantry (alternate weeks) 15 min Check expiry dates, group like items, add to the restock list
    Saturday Paperwork 15 min weekly, 1 hour monthly Sort the mail pile, file or shred, note bills due next week

    You can shuffle the days to fit your week. The only rule that matters is one area per day, with a timer.

    How to run each reset

    Every reset follows the same four steps, which is what makes it stick:

    1. Set a timer. Ten to twenty minutes. When it goes off, you stop, even if you’re not done. Next week picks up where you left off.
    2. Pull out, don’t shuffle. Take things out of the space instead of rearranging them in place. It’s faster to decide on items you’re holding.
    3. Sort into three piles: keep here, belongs somewhere else, and toss or donate.
    4. Write down what’s missing. Every reset ends with a short restock note. That note becomes your shopping list, so you stop buying things you already have.

    The resets, one by one

    Each area gets its own step-by-step guide. Here are the ones published so far:

    Kitchen resets

    Laundry and linens

    Paper and admin

    • Paperwork Hour — a monthly system for bills, mail, and forms, plus a keep-or-shred guide.
    • Medicine Cabinet Clean-Out — what to toss, keep, and restock, plus how to get rid of old meds safely.
    • Entryway Drop Zone — keys, bags, and shoes sorted. (Guide coming soon.)

    Beyond the resets

    The site has grown two more pillars. They use the same small-steps idea, just pointed at your things and your time.

    Making it stick

    A few things that help the routine survive a busy month:

    • Keep the checklist where the reset happens. A fridge checklist on the fridge door gets used. One in a drawer doesn’t.
    • Pair it with something you already do. Fridge reset before you write the grocery list. Entryway reset when you get home Thursday.
    • Skip a day, don’t restart. Missing Wednesday doesn’t mean starting over on Sunday. Just do Thursday’s reset on Thursday.
    • Track restock notes in one place. One list on the fridge or one note on your phone, not scraps of paper in five rooms.

    What you’ll need

    Almost nothing. A timer, a trash bag, a box for “belongs somewhere else,” and the printable checklists. Containers and organizers are optional; every guide on this site works with what you already own, and any product suggestions are clearly marked.

    Start this week

    Pick tonight’s day on the chart above and do just that one reset. Tomorrow, do the next. By next Sunday you’ll have touched every area once, and the second week is always faster than the first.

    Free printable: The Reset Week Starter puts the whole 7-day plan on one page, with a freezer inventory sheet to go with it. Download it free

    Getting ready for the holidays? The Holiday Kitchen Prep guide turns the fridge, freezer, and pantry resets into a three-week Thanksgiving plan.

    Save this for later

    Pin it to your home or cleaning board so the checklist is there on reset day.

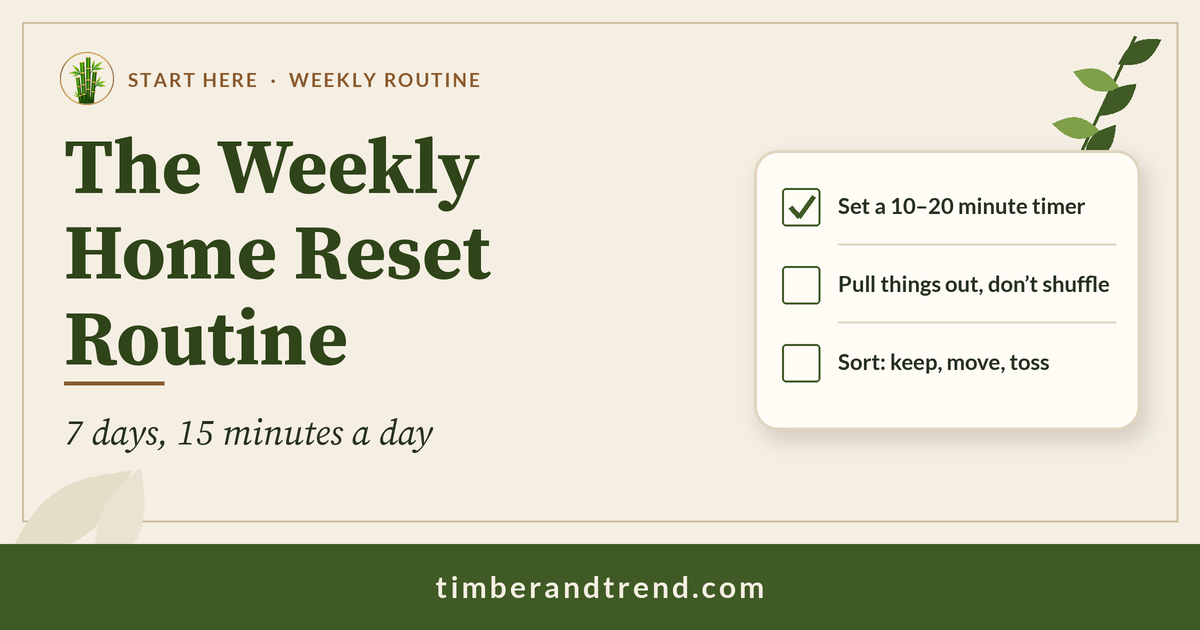
    Pinterest pin: The Weekly Home Reset Routine. 7 days, 15 minutes a day. Checklist: Set a 10–20 minute timer; Pull things out, don’t shuffle; Sort: keep, move, toss.
    Home Reset Week printable bundle, $5

    Printable bundle · $5 launch price

    Get every checklist in one place

    The Home Reset Week bundle has 8 printable resets (fridge, freezer, pantry, drawers, laundry, paperwork, medicine cabinet, entryway) plus a holiday kitchen prep timeline.