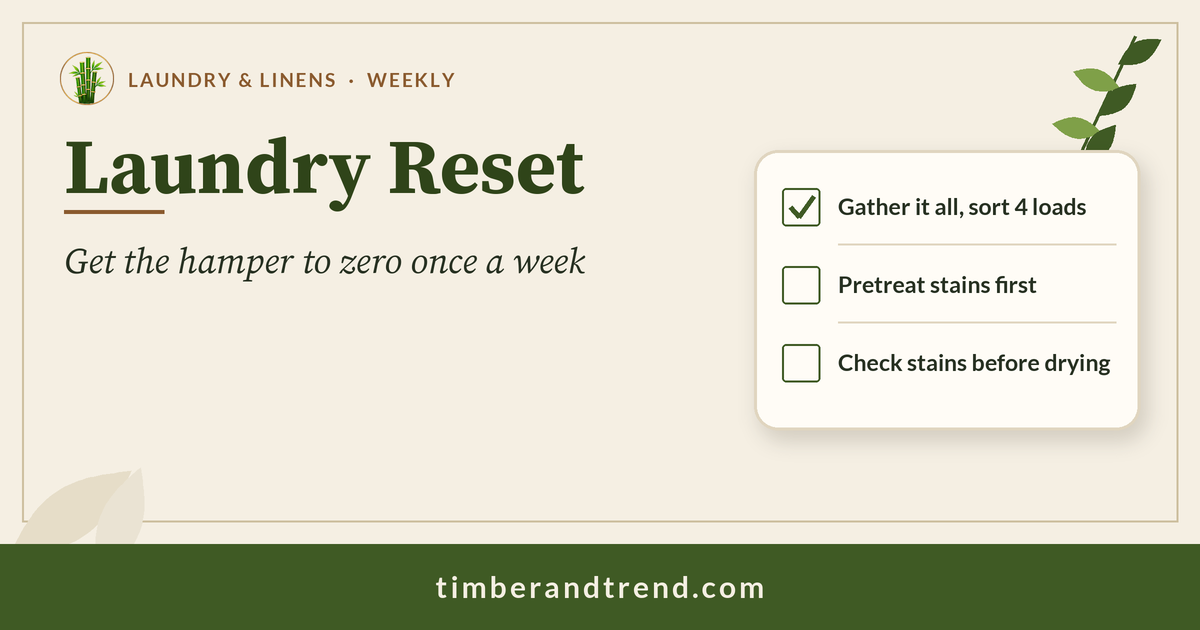
Laundry fails when dirty clothes scatter into three hampers, a chair, and a gym bag — and when stains wait until they have been through the dryer. A laundry reset is the opposite of a weekend marathon: one weekly habit that gets every load washed, dried, folded, and put away, plus a stain plan you can follow.
You need a gather-sort-treat-wash-check-put-away loop with about 20 minutes of hands-on time — not a utility-room makeover. Machine time is free; your time is not.
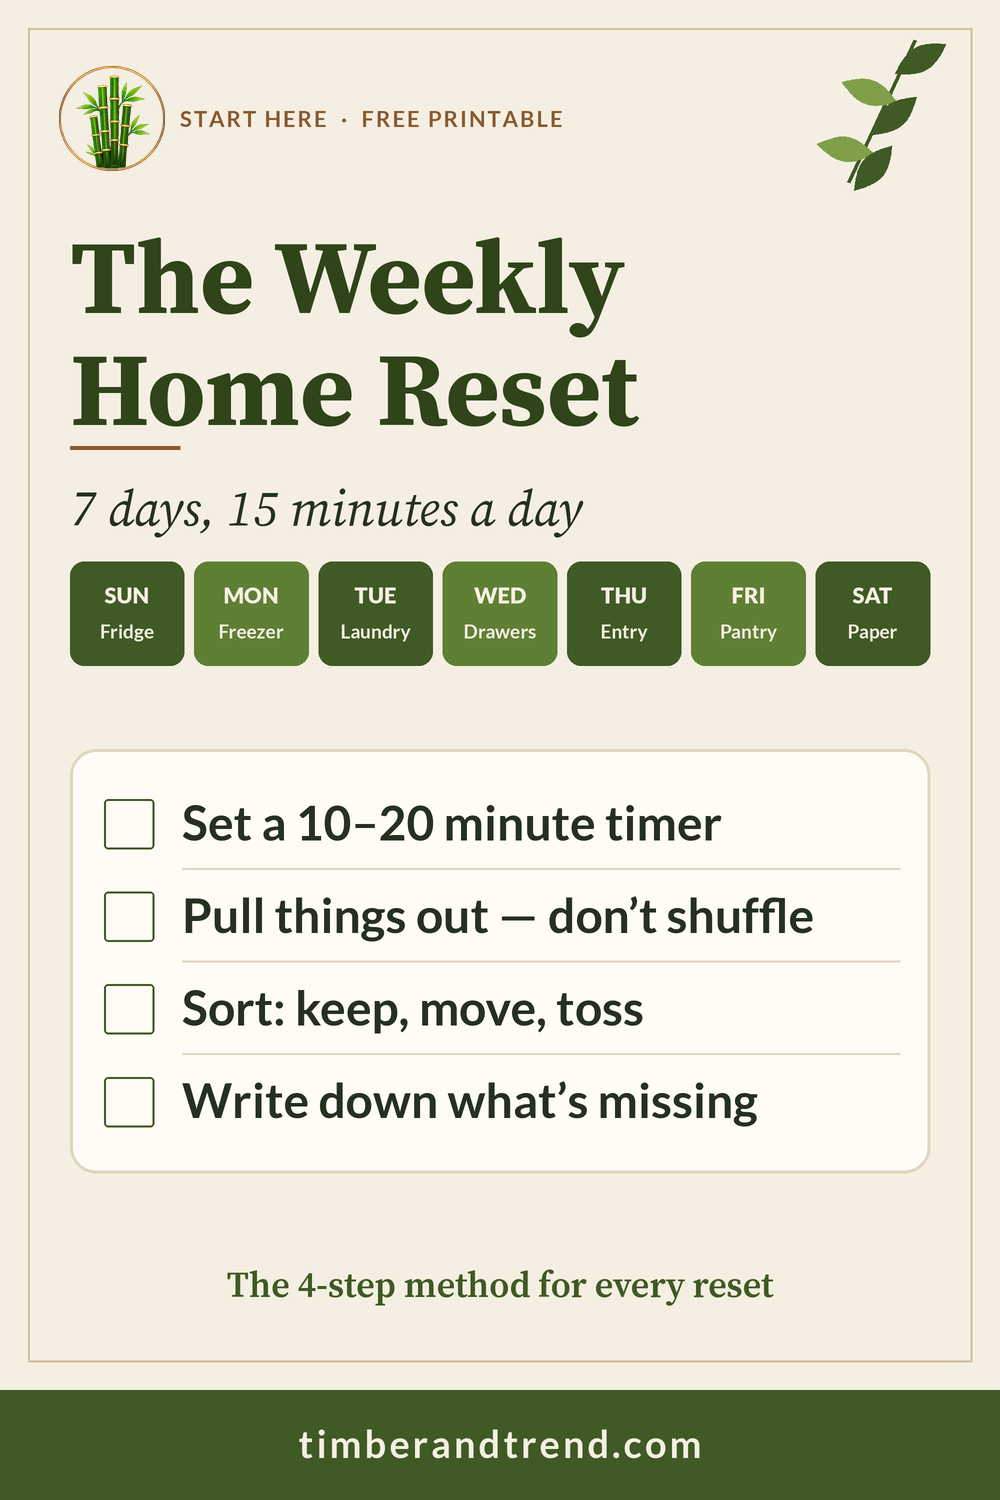
Free printable: The Reset Week Starter gives you a simple weekly calendar so laundry gets a real slot, not a vague “I’ll do it later.” Download it free
Why a weekly reset beats “when the hamper overflows”
Overflow laundry creates three problems at once:
- Stains set. What would have rinsed out on day one needs a second wash — or never comes out — after heat.
- Sorting becomes a project. Five bags dumped on the floor take longer than sorting as you go.
- Put-away never happens. Clean piles live on the couch until they become dirty again.
Same idea as the fridge reset: same day each week, clear end state (empty hamper, empty dryer, nothing on the couch), then stop.
What you need
Keep it boring:
- One primary hamper per bedroom or bathroom (plus a bag for towels if that helps).
- A small stain kit: liquid detergent or stain remover, a soft cloth, and optionally an enzyme stain remover for protein and grass stains — only products that match care labels.
- Hooks or a rack for hang-dry delicates.
- A folding surface (bed, table, or top of the dryer).
Skip buying a “laundry room system” until you have run this reset twice.
The seven steps
1. Gather (3 minutes)
Pull every hamper, bag, and chair-pile into one spot. Check bathroom hooks, kids’ floors, gym bags, and the car. Do not sort yet — the goal is one pile so nothing is left behind.
2. Sort into loads (3 minutes)
Make four piles:
- Darks
- Lights
- Towels & sheets
- Delicates
Split towels and sheets if the washer is small. Keep “hand wash” or “dry clean” items out of the machine pile.
3. Check pockets and pull stained items (2 minutes)
Empty pockets. Set stained pieces aside and treat them before they go in the wash. Fresh stains are easier; dried ones still deserve a pretreat, not a hope-and-dry cycle.
4. Read care labels on anything new (1–2 minutes)
When in doubt, wash by the label: temperature, bleach yes/no, tumble-dry vs hang. One ruined sweater costs more than an extra cold-water cycle.
5. Wash, then check before the dryer
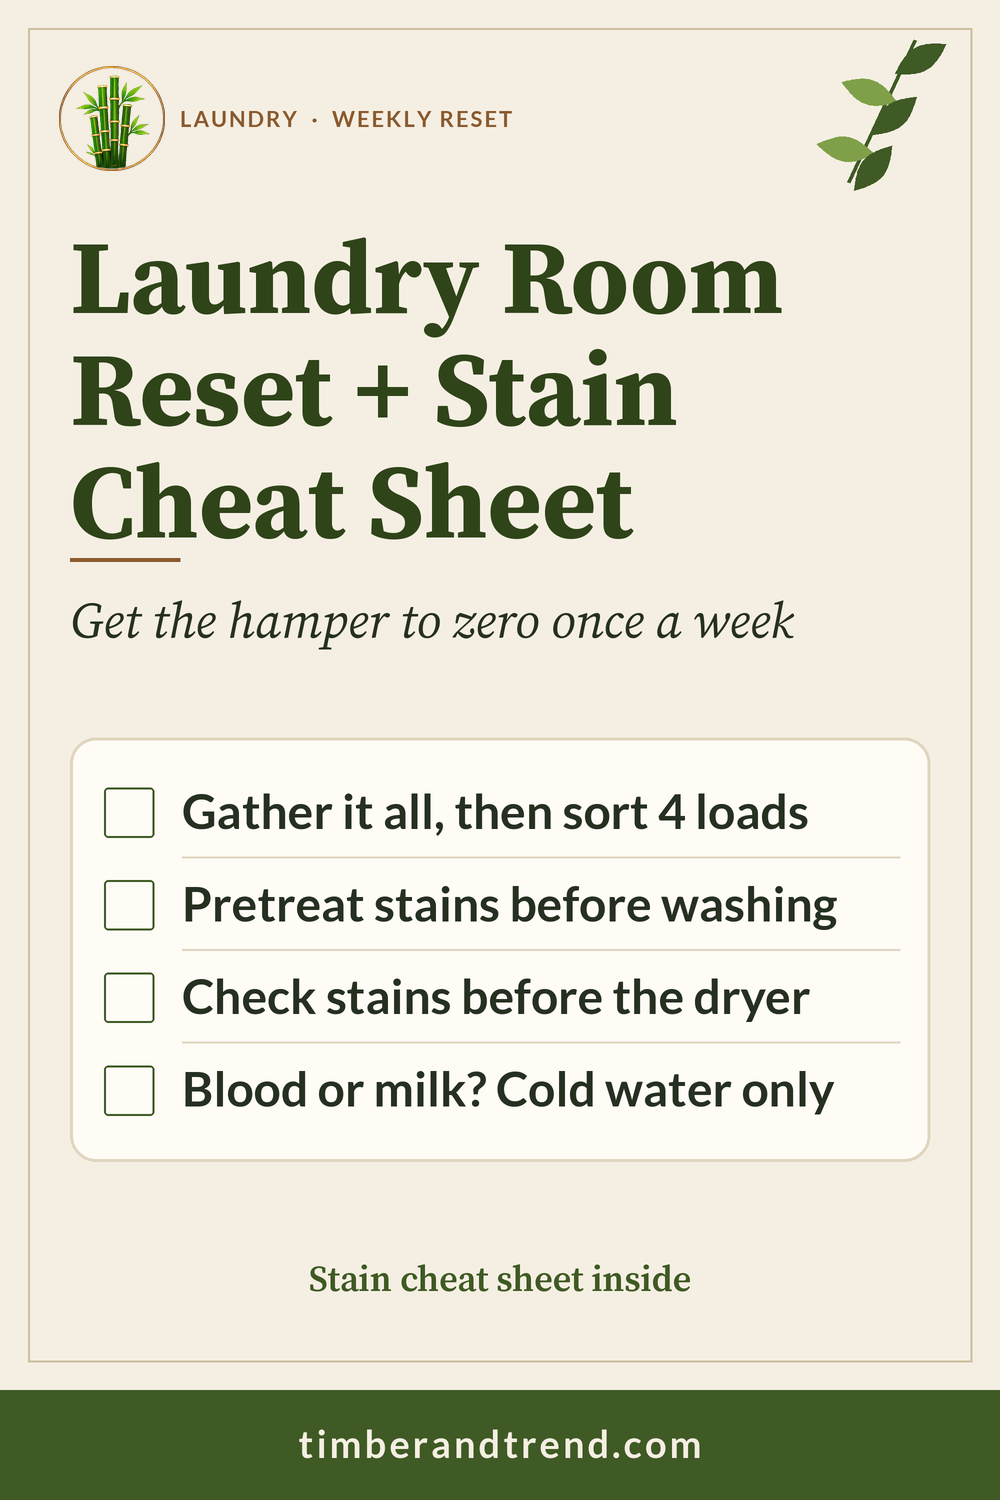
Start loads. When a load finishes, check every pretreated item before it goes in the dryer. If the stain is still there, treat again and rewash. Heat can set stains — the dryer is the last step, not the middle one.
6. Fold or hang the same day (8–10 minutes)
Straight out of the dryer (or off the line), fold or hang. Put each pile away before the next chore. Clean laundry that lives in a basket is only halfway done.
7. Wipe the machine and leave the door open (1 minute)
Wipe the door seal, empty the lint screen, and leave the washer door open to air out. Once a month, run the cleaning cycle (or follow the manual), clean the dispenser drawer, and restock detergent and stain remover.
Stain cheat sheet (washable fabrics)
General tips for washable fabrics. Always follow the care label and test a hidden spot first. These align with American Cleaning Institute stain-removal guidance: pretreat, launder as labeled, and do not dry until the stain is gone.
Five rules
- Treat it as soon as you can.
- Blot or scrape off the excess — do not rub.
- Work from the back of the fabric when you can, flushing water through the stain the way it came in.
- Pretreat with a stain remover or liquid detergent, let it sit, then launder by the care label.
- Keep it out of the dryer and away from the iron until the stain is gone.
By type
| Stain | What to try |
|---|---|
| Protein (blood, milk, egg) | Flush with cold water (hot can set protein). Pretreat with an enzyme product, then wash cold. |
| Tomato, sauce, juice | Cold water through the back of the stain. Pretreat, then launder. |
| Syrup & sticky | Scrape excess. Flush cool to warm from the back. Pretreat, rinse, wash. |
| Grass, dirt, sweat | Enzyme pretreat; wash in the warmest water safe for the fabric. |
| Mystery stain | Pretreat, wash, check before drying. Repeat if needed. A reddish-brown spot may be dried blood — treat like protein. |
Bleach safety: Never mix chlorine bleach with ammonia, vinegar, or other cleaners — that can create hazardous fumes. Use one product at a time, rinse between products, and work in a ventilated room. Use bleach only when the care label says it is safe. When unsure, skip bleach and stick to detergent plus a laundry stain remover.
Weekly load tracker + monthly check
Check boxes for each load: washed / dried / folded / put away — darks, lights, towels, sheets, delicates, and one extra load if life dumped gym clothes on you. The win is every checkbox filled and an empty hamper.
Once a month: clean the washer, clean the dispenser drawer, empty the lint screen and wipe the trap area, restock supplies, and bag a small mend pile (buttons, hems, tears).
Common mistakes
- Sorting after the chair is full — gather first, sort second.
- Drying stained clothes “to see if it comes out” — check first; heat sets many stains.
- Leaving clean piles on the couch — put-away is part of the reset.
- Mixing bleach with other cleaners — one product at a time; ventilate; read labels.
- Buying organizers instead of running the habit — two weekly resets with what you own beats a shelf you never use.
Make it stick
Pick a recurring slot — Sunday evening, Wednesday night, or the same day you already do sheets. Set a timer for the hands-on parts so the reset has a clear end. If you are also resetting the kitchen or entryway that week, the Weekly Home Reset Routine shows how laundry fits without turning your weekend into a chore marathon.
Get the free printable
Start with the free Reset Week Starter: a 7-day reset calendar so laundry gets a set day, plus a freezer inventory sheet. Download it free
Save this for later
Pin it to your home or cleaning board so the checklist is there on reset day.
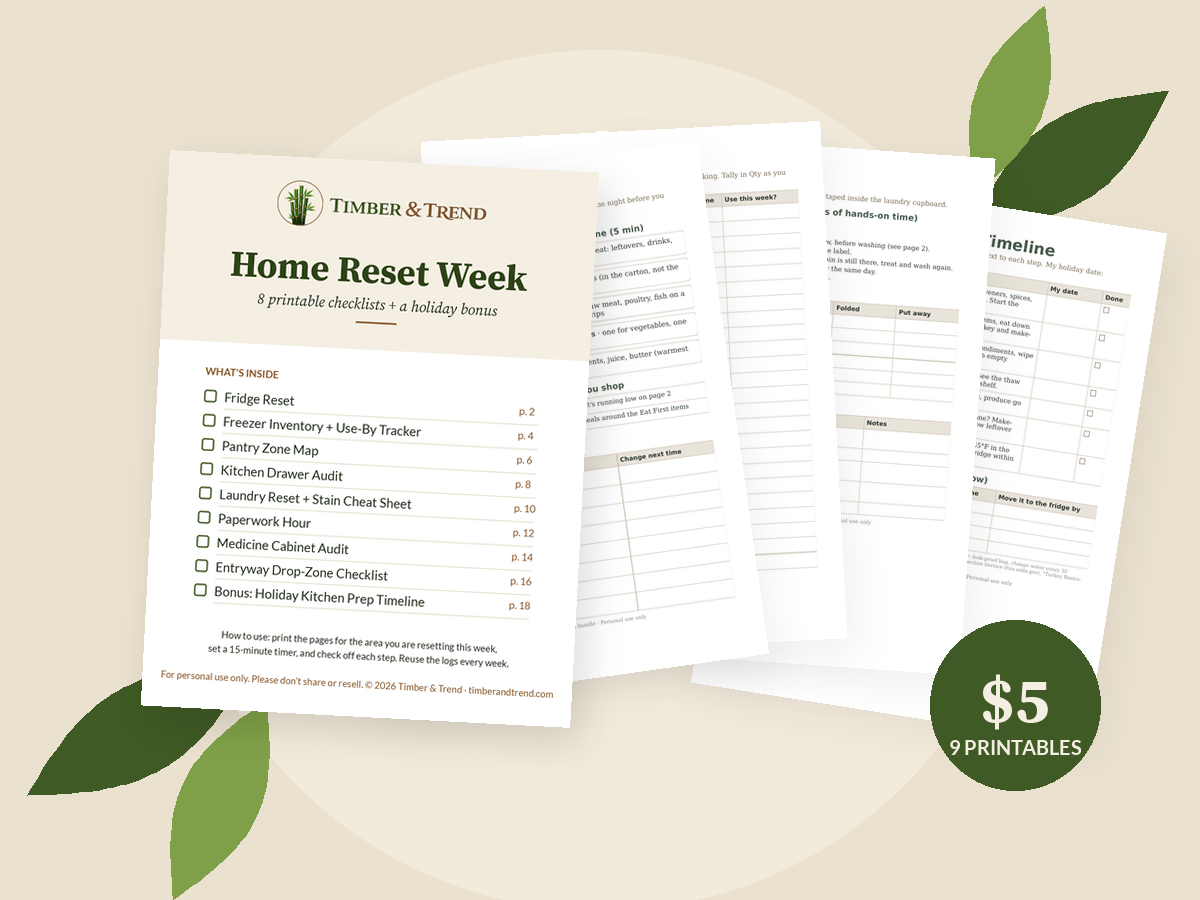
Printable bundle · $5 launch price
Get every checklist in one place
The Home Reset Week bundle has 8 printable resets (fridge, freezer, pantry, drawers, laundry, paperwork, medicine cabinet, entryway) plus a holiday kitchen prep timeline.