Tag: Checklist

  • Pantry Reset Without Buying a Single Container

    Pantry Reset Without Buying a Single Container

    A lot of pantry advice is really a shopping list for matching jars. You don’t need them. A pantry reset that sticks starts with what you already own: empty one shelf, toss what’s done, give every category a home, and write the restock list before you shop.

    That’s pantry organization on a budget. No container haul, and no system that collapses by Thursday.

    Free printable: Put this on the calendar with the Reset Week Starter on the Free Printable page. A slot in your week beats a board full of pantry photos you never open.

    Why pantries fall apart

    It’s the same three habits that wreck the fridge and the medicine cabinet:

    • Backstock hides the truth. You buy pasta because you can’t see the three boxes behind the cereal.
    • Zones never got named. Snacks land wherever there’s a gap, so the everyday stuff and the once-a-year stuff share a shelf.
    • The list happens at the store. You shop from memory, then come home to duplicates.

    Containers don’t fix any of that. Zones and a restock list do.

    What you need (and what you don’t)

    You need:

    • A trash bag and a damp cloth.
    • A notepad, or a restock list with Have and Buy columns.
    • Masking tape and a marker for temporary shelf labels.
    • Twenty minutes and one shelf.

    You don’t need:

    • A set of matching canisters.
    • A whole Saturday spent emptying the pantry onto the floor.
    • New shelving, unless something’s actually broken.

    Later, and only if a problem survives two weeks of zones, one small tool can help: a tiered shelf riser for cans, or a turntable for oils in a deep corner. Most pantries get better without either.

    The 20-minute pantry reset

    Work one shelf at a time. Dumping the whole pantry is how people burn out and shove everything back worse than before.

    1. Pull one shelf (3 minutes)

    Take everything off. Wipe the shelf. While you’re at it, check the overflow spots: the top of the fridge, the bulk corner in the laundry room, the snack drawer if snacks live there instead.

    2. Toss what’s done (4 minutes)

    Stale crackers, the open bag of something from last spring, and anything bugs have found all go. So do swollen, leaking, or badly rusted cans, and any can with a deep dent (one you can lay a finger in) or a dent on a seam. That’s straight from USDA’s Food Safety and Inspection Service, which also says to keep canned goods in a cool, dry spot, not above the stove or under the sink. (USDA FSIS: Shelf-Stable Food Safety)

    FSIS also notes that dates on shelf-stable food are about quality, not safety, so a slightly old box of pasta can be fine. Use your judgment: if it smells off or you wouldn’t cook with it tonight, it doesn’t earn the shelf.

    3. Group like with like (5 minutes)

    Make piles on the counter before anything goes back:

    • Grains and pasta
    • Cans and jars
    • Baking supplies
    • Breakfast and snacks
    • Oils, sauces, and spices
    • Household stuff (foil, bags, paper towels), if it lives here

    You’re not alphabetizing. You’re ending the scavenger hunt.

    4. Assign zones (5 minutes)

    Give every pile a home that matches how you actually cook. A zone map that works in most kitchens:

    Zone What lives there
    Top shelf Backstock and rarely used: extra paper goods, holiday baking, bulk refills
    Eye level: everyday meals Pasta, rice, grains, sauces, canned beans and tomatoes
    Eye level: breakfast and snacks Cereal, oats, nut butter, crackers, a kids’ snack bin
    Middle: baking Flour, sugar, baking soda and powder, spices, oils
    Low shelf Heavy and bulk: drinks, big cans, potatoes and onions (kept apart)
    Door or front bin Grab-and-go lunch-box items, bars, and a “use me first” basket

    Write your zone name on a strip of tape and stick it on the shelf edge. It’s ugly. It works.

    Then put the oldest items in front and the newest behind. First in, first out. That one habit cuts more waste than any pretty jar, and it’s the same idea as the “eat first” bin in the fridge reset.

    5. Write the restock list before you close the door (3 minutes)

    This is the step that makes the whole thing pay off. While the shelf is open, mark Have or Buy for what you actually saw:

    • Rice, pasta, oats
    • Beans, tomatoes, broth
    • Flour, sugar, baking powder
    • Cereal, nut butter, crackers
    • Cooking oil, vinegar, pasta sauce
    • Foil, storage bags, paper towels, if they live here

    Circle the Buys and snap a photo of the list before you shop. Don’t rebuild it from memory in aisle four. Prefer paper? Keep it with your other lists from the monthly Paperwork Hour.

    The “no new containers” rule

    Live with your zones for two weeks before you buy anything organizational.

    A lot of what gets bought after a pantry makeover is guilt shopping: cute bins for a mess that hasn’t been sorted yet. If one category still collapses after two weeks of labels and first-in-first-out, then buy one tool for that one problem. Not a matching set for the whole wall.

    What “one tool, one problem” looks like:

    • Cans stacked so deep you keep buying duplicates? One shelf riser.
    • Oils and vinegars lost in a corner? One turntable.
    • Kid snacks spread across three shelves? One open bin labeled “snacks,” not twelve mini jars.

    Everything else can wait. Using what you have is also the low-waste choice, which is why this post sits under both Kitchen Resets and Sustainable Living.

    Mistakes that undo the reset

    • Emptying the whole pantry at once. One shelf. Stop when the timer goes.
    • Buying containers first. Zones first, tools last, if at all.
    • Mixing backstock with everyday. The spare pasta goes up high; the open box stays at eye level.
    • Skipping the list. A reset that doesn’t change what you buy is just rearranging.
    • Storing potatoes and onions together. They’re commonly kept apart because they spoil faster side by side. Give them separate spots on the low shelf.

    How it fits the week

    The pantry shares Friday with the medicine cabinet on the Weekly Home Reset Routine, on alternate weeks. A full shelf-by-shelf pass once a month is plenty for most houses. A two-minute look at the restock list before each shop catches the gaps.

    Holiday baking season is when pantries get out of hand. If Thanksgiving is on your calendar, do this reset first, then follow the Holiday Kitchen Prep timeline so the extra groceries have somewhere to land. Planning to give edible gifts this year? The low-waste gifting guide has a few that start right here on the baking shelf.

    The Home Reset Week bundle includes a printable Pantry Zone Map and Restock List with blank “my shelf” lines.

    Quick recap

    1. One shelf at a time: pull, wipe, toss.
    2. Group like with like.
    3. Assign zones: backstock up top, everyday at eye level, heavy items low, grab-and-go by the door.
    4. Oldest in front, and label the shelf edge.
    5. Fill in the Have and Buy list before you shop.
    6. No new containers until the zones survive two weeks.

    Twenty minutes, zero jars, and a pantry you can actually cook from.

    Save this for later

    Pin it to your kitchen board so the zone map is there on reset day.
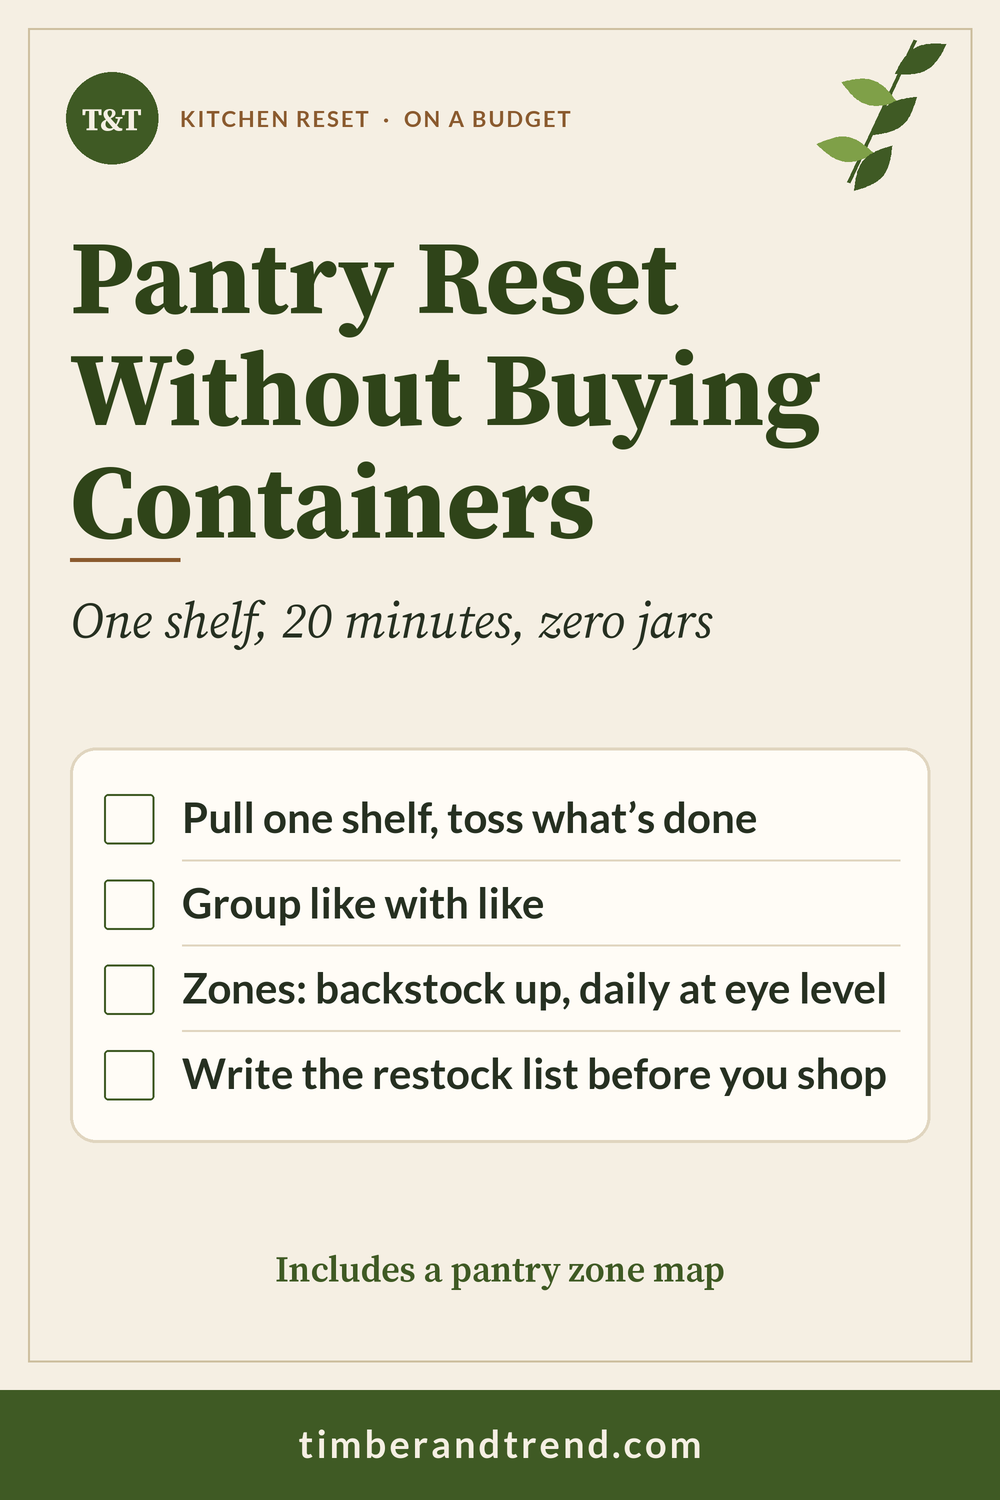
    Pinterest pin: Pantry Reset Without Buying Containers. One shelf, 20 minutes, zero jars. Checklist: Pull one shelf, toss what’s done; Group like with like; Zones: backstock up, daily at eye level; Write the restock list before you shop.
    Home Reset Week printable bundle, $5

    Printable bundle · $5 launch price

    Get every checklist in one place

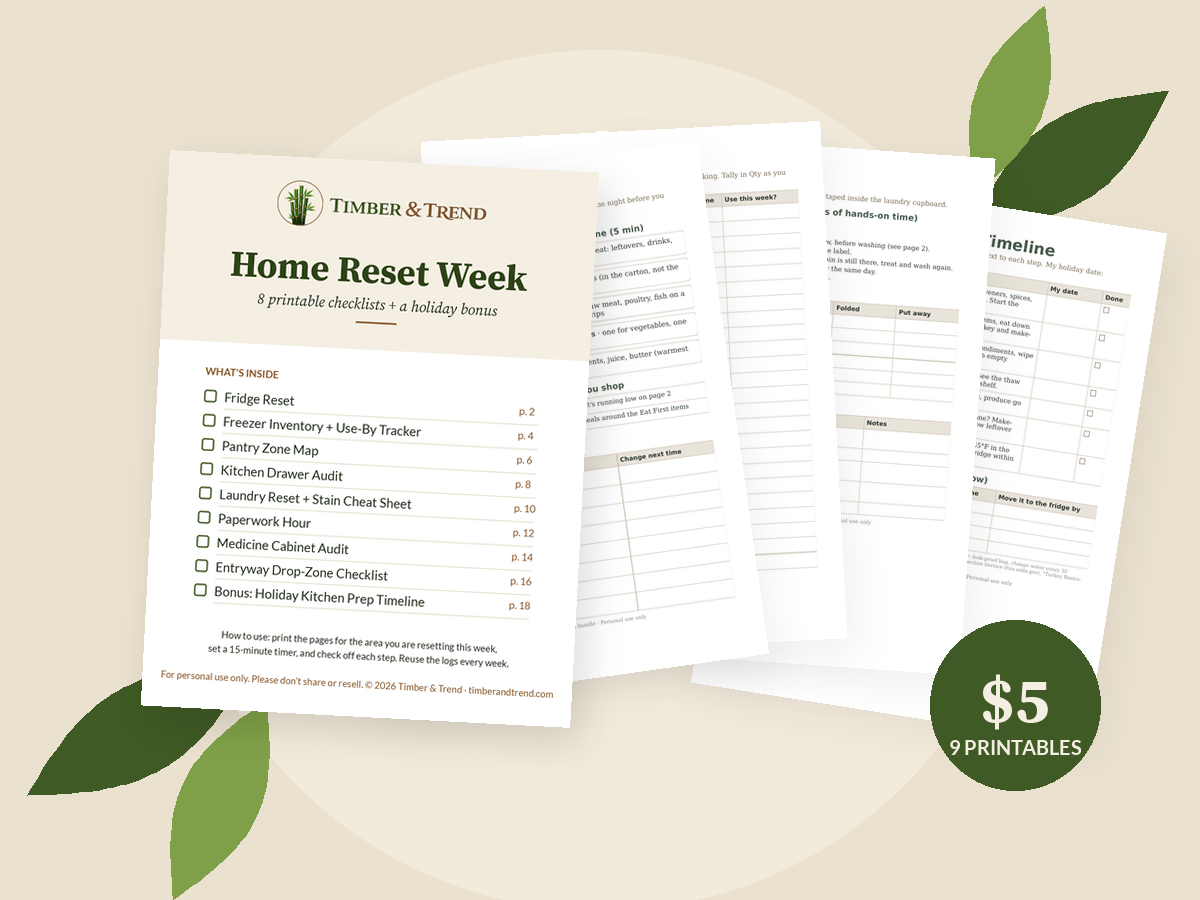
    The Home Reset Week bundle has 8 printable resets (fridge, freezer, pantry, drawers, laundry, paperwork, medicine cabinet, entryway) plus a holiday kitchen prep timeline.
  • Medicine Cabinet Clean-Out: What to Toss, Keep, and Restock

    Medicine Cabinet Clean-Out: What to Toss, Keep, and Restock

    A medicine cabinet doesn’t stay sorted. Bottles migrate, half-empty tubes multiply, and the one thing you need at 2 a.m. is always the bottle that expired two winters ago.

    A medicine cabinet clean-out is a short reset: pull everything out, decide keep or discard, write down what you kept, and restock only the basics. It takes about 20 minutes. The disposal part follows FDA and DEA guidance, so you’re not guessing about what goes in the trash.

    Free printable: Grab the Reset Week Starter on the Free Printable page so this clean-out gets a real slot in your week, not a vague “I should.”

    Why cabinets go sideways

    It’s usually three quiet habits:

    • You buy a backup before you check. Two bottles of the same allergy pills end up hiding behind the sunscreen.
    • Expiry dates are tiny. You only notice them when someone’s already sick.
    • Disposal feels unclear. So expired pills sit there “until you figure it out,” which never happens.

    It’s the same pattern as the fridge and the junk drawer. Out of sight turns into out of date.

    What you need

    Keep the kit boring:

    • A trash bag and a small box or tray for the keepers.
    • A notepad or an expiry log with columns for item, form, expiry date, keep or discard, and notes.
    • Optional: a couple of small open bins or a turntable if your shelf is deep. Only if you already know you’ll use them.
    • A disposal plan. Take-back is best; more on that below.

    Don’t buy a new cabinet. Empty the one you have first.

    The five steps

    1. Empty the shelf (3 minutes)

    Pull every bottle, tube, and first-aid item onto a towel on the counter. Wipe the shelf. You can’t organize what you can’t see.

    Check the spillover spots too: nightstand drawer, the vitamin shelf in the kitchen, the diaper bag, the gym bag, the car console. Bring it all into one pile for this pass.

    2. Sort into three piles (7 minutes)

    For each item, ask one question: is this still good, and is it still ours?

    • Keep: in date, label readable, and someone in the house actually uses it.
    • Discard: expired, label worn off, tablets crumbling, mystery liquids, anything that’s been recalled or looks or smells off.
    • Ask: a prescription you’re unsure about, or something a clinician told you to finish. Call your pharmacist. This guide isn’t medical advice, and a pharmacist answers these questions all day.

    Group the keepers while you sort: daily meds, as-needed (pain, allergy, stomach), and first aid.

    3. Write down what you keep (5 minutes)

    Log it once: item, form (tablet, liquid, cream), expiry, and where it lives. That list is how you stop buying duplicates next month.

    Star anything that expires in the next 90 days. That’s your restock reminder, not an emergency.

    4. Get rid of the discard pile properly (5 minutes)

    This is the part people put off, so here’s the plain version of the official guidance:

    1. Take-back is the first choice. Many pharmacies and police stations have year-round drop boxes run by DEA-authorized collectors. The next National Prescription Drug Take Back Day is Saturday, October 24, 2026, 10 a.m. to 2 p.m. local time. Find a site through the DEA Diversion Control take-back page, or see the FDA’s take-back locations guide.
    2. Flush only if the medicine is on the FDA’s flush list. Most medicines aren’t. If it’s not on the FDA flush list, don’t flush it.
    3. No take-back option? Use the household trash method. The FDA’s steps: mix the medicine (don’t crush tablets or capsules) with something unappealing like used coffee grounds, dirt, or cat litter; seal it in a bag or container; throw it in the trash; and scratch out your personal info on the empty bottle. (FDA: Drug Disposal, Dispose “Non-Flush List” Medicine in Trash)

    Sharps (needles, lancets) aren’t accepted at Take Back Day sites. Follow the label and your local sharps program for those.

    5. Restock only what’s missing (optional, 5 minutes)

    Restock from the list, not from memory. A sensible starter set for a lot of households:

    • The pain or fever reducer you already use, in the right form and dose for everyone in the house.
    • The antihistamine you already use.
    • A digital thermometer that actually turns on.
    • Bandages in a few sizes, antiseptic wipes, and the ointment you trust.
    • Whatever your household actually reaches for when someone’s sick: electrolyte packets, throat lozenges, saline spray.

    This isn’t a pharmacy haul. Buy what the log says you’re out of.

    A zone map that sticks

    Once the shelf is clear, give every keeper a home:

    • Eye level: daily prescriptions and the things you use most.
    • Top shelf: backups and rarely used over-the-counter meds (still in date).
    • Locked or latched, up high: anything that’s dangerous for kids or pets. Curious hands and noses find open shelves fast.

    Turn labels to face out. It sounds small, but it’s the difference between finding the right bottle at night and reading six labels by phone light.

    Is the bathroom even the right spot?

    Often, no. The FDA notes that a damp bathroom cabinet can make medicine less effective before its expiration date, and suggests a cool, dry place instead: a dresser drawer, a storage box, a closet shelf, or a kitchen cabinet away from the stove and sink. (FDA: Don’t Be Tempted to Use Expired Medicines) Keep the bandages in the bathroom and move the pills somewhere drier if you can. Wherever they go, keep them out of kids’ sight and reach.

    Mistakes that undo the reset

    • Keeping expired meds “for emergencies.” Expired goes in the discard pile, not the backup shelf.
    • Sharing leftover prescriptions. Don’t.
    • Buying cute containers before the log is done. Organization follows the list, not the other way round.
    • Doing it once and never again. That’s how you end up back at mystery bottles.

    How it fits the week

    On the Weekly Home Reset Routine, the medicine cabinet shares Friday with the pantry on alternate weeks. A full empty-and-log once a quarter is plenty for most homes. A two-minute look at the expiry log each month catches the starred items before they turn into a late-night drugstore run.

    If you keep a paper log, it fits nicely into your monthly Paperwork Hour: check the stars, add a line to the shopping list, done. And if you’re clearing out the kitchen this month too, the pantry reset uses the same pull, sort, log rhythm.

    The Home Reset Week bundle has a printable Medicine Cabinet Audit with the expiry log already laid out.

    Quick recap

    1. Empty the cabinet and wipe the shelf.
    2. Sort into keep, discard, and ask (call the pharmacist for prescription questions).
    3. Log the keepers and star anything expiring within 90 days.
    4. Take-back first, flush only if it’s on the FDA list, otherwise mix, seal, trash, and scratch out the label.
    5. Restock only what the log shows you need.

    Twenty minutes, one clear shelf, and no mystery bottles at 2 a.m.

    Save this for later

    Pin it to your home or cleaning board so the checklist is there on reset day.

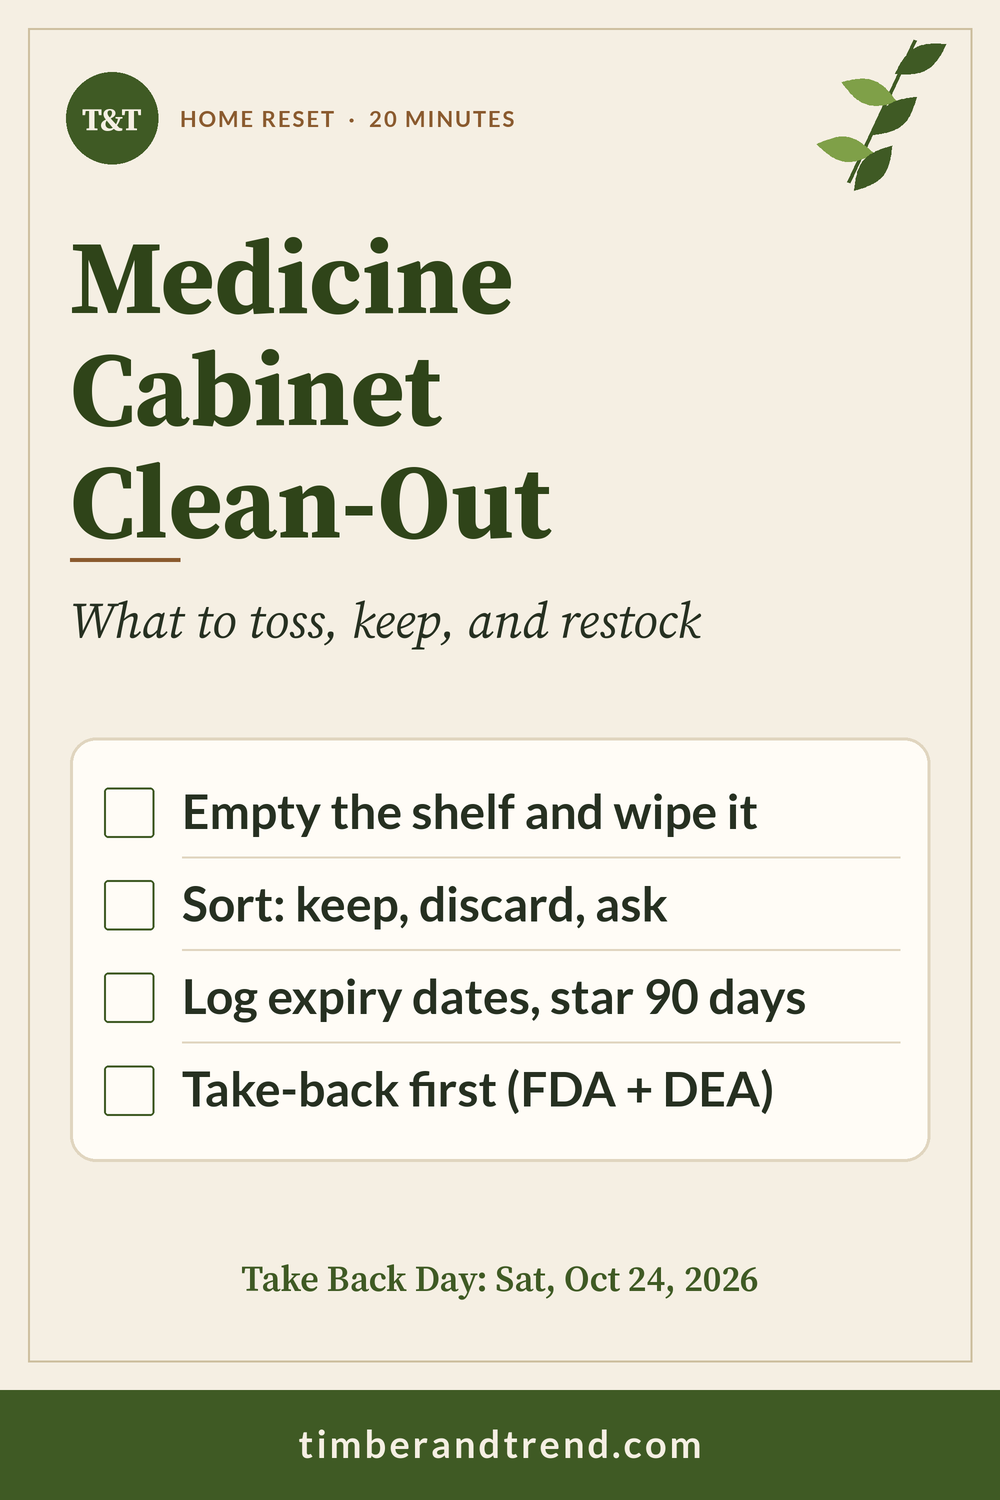
    Pinterest pin: Medicine Cabinet Clean-Out. What to toss, keep, and restock. Checklist: Empty the shelf and wipe it; Sort: keep, discard, ask; Log expiry dates, star 90 days; Take-back first (FDA + DEA).
    Home Reset Week printable bundle, $5

    Printable bundle · $5 launch price

    Get every checklist in one place

    The Home Reset Week bundle has 8 printable resets (fridge, freezer, pantry, drawers, laundry, paperwork, medicine cabinet, entryway) plus a holiday kitchen prep timeline.