
There’s usually a pile. A shirt with a button hanging by one thread, a sweater with a small hole at the cuff, jeans going thin at the knee. None of it is ruined. It just keeps getting pushed to the back of the drawer, and eventually it feels easier to replace than to fix.
Mending is a reset, the same as the fridge or the laundry. You don’t need to be good at sewing. You need one basket, a short kit, and twenty minutes once a month. This guide covers all three, plus five beginner fixes and the visible mending idea that takes the pressure off making repairs invisible.
Free printable · 2 pages · no email needed
Mend Log + Mending Basket Kit
Page one is a monthly Mend Log with the 20-minute session plan across the top. Page two is a beginner kit checklist, a which-fix-for-which-problem guide, a skip-the-DIY list and a row for picking your mend day each month.
Why a mend pile counts as a reset
Clothes leave the house faster than most of us think. The EPA estimated that the US generated about 17 million tons of textiles in 2018, and landfills received 11.3 million tons of them. Only 14.7 percent was recycled (EPA).
The Ellen MacArthur Foundation found that, worldwide, the number of times a garment gets worn before it’s thrown out dropped by 36 percent over 15 years (A New Textiles Economy, summary). Their estimate is that the equivalent of one garbage truck of textiles is landfilled or burned every second (Ellen MacArthur Foundation).
The good news is on the other side of that. UK research from WRAP estimated that keeping clothes in use for an extra nine months would cut their carbon, water and waste footprints by around 20 to 30 percent each (WRAP, Valuing Our Clothes). Repair is one of the ways WRAP names to get there. A sewn-on button is small. A habit of sewing on buttons isn’t.
So treat it like any other reset: a home for the stuff, a set time, and a short list.
What visible mending means (and why it’s easier)
Visible mending is a repair you can see on purpose. A contrasting patch on a knee, a colorful darn on a sock heel, rows of running stitches across a thin spot. You’re not trying to hide the fix, so it doesn’t have to be perfect. That’s why it’s a good place for beginners to start.
The idea has deep roots. Sashiko is a Japanese running-stitch technique whose name translates to “little stabs.” It began as a way to repair and reinforce clothing during the Edo period (1603 to 1868), making fabric thicker, warmer and longer lasting (Embroiderers’ Guild of America). Boro, from the Japanese boroboro, meaning tattered or repaired, is the patched and re-patched cloth itself (V&A). You can see a 19th-century boro farmer’s coat, reinforced with lines of sashiko, in the Minneapolis Institute of Art collection. The museum notes that the garment’s long use is plain to see.
You don’t need to learn sashiko patterns to borrow the spirit. Even, simple running stitches through a patch are enough.
The beginner mending kit
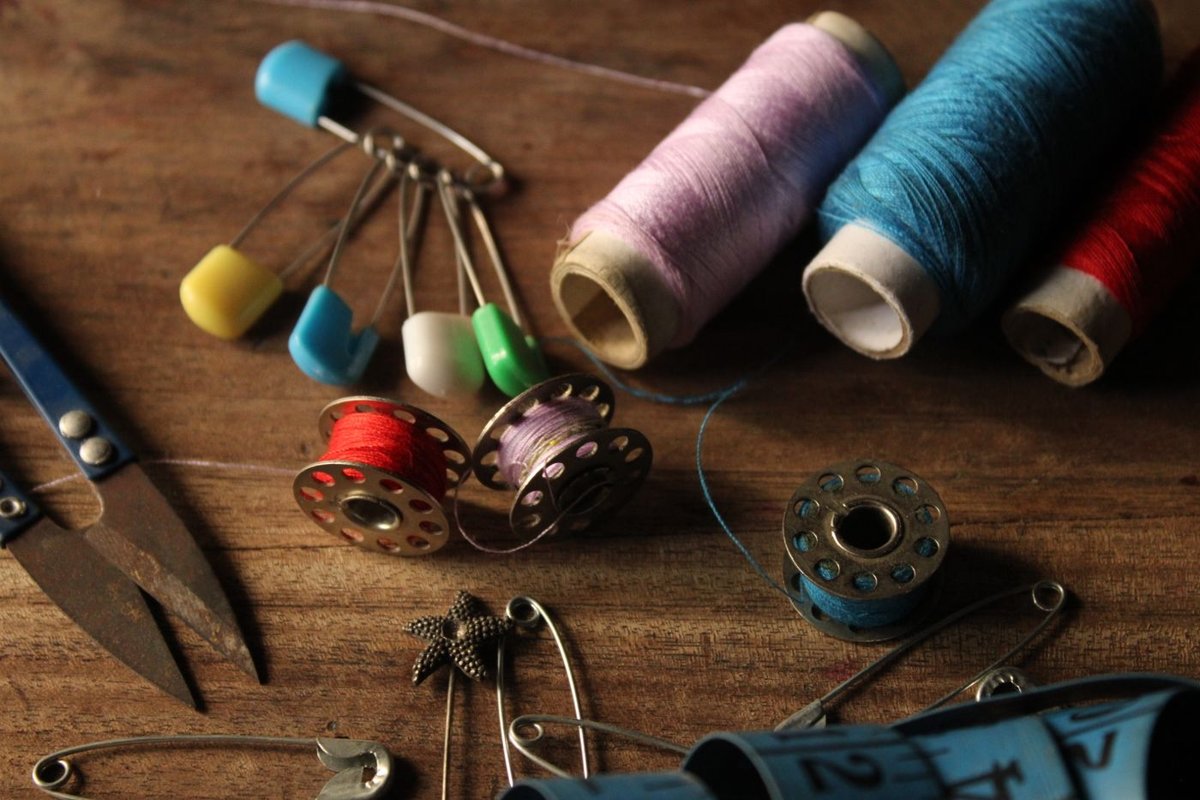
Start with what’s already in the house. A lot of homes have a sewing tin somewhere, and new clothes often come with a spare button in a tiny bag. Add pieces only when a mend asks for them.
The basics
- Hand sewing needles. An assorted pack covers most jobs. Make sure one has a big eye for thicker thread and yarn.
- All-purpose thread. Black, white, navy and gray handle most invisible fixes. Add one color you like for visible ones.
- Embroidery floss or sashiko thread. For stitches you want to show. Sashiko thread is thicker and twisted, and it’s usually paired with a needle that has a larger eye (EGA). Six-strand embroidery floss is easy to find and works for visible stitches too.
- Small sharp scissors. Keep them for thread and fabric only.
- Pins and a few safety pins. A safety pin on the problem spot also reminds you what’s wrong.
- Seam ripper. For undoing a stitch that went sideways.
Nice to have
- A darning mushroom or darning egg. It sits inside a sock or sleeve and holds the fabric smooth while you work. Any smooth, rounded object you can hold inside the garment works to start.
- Darning yarn. Wool or cotton, close to the weight of the knit you’re fixing.
- Patch fabric. Cut it from shirts, jeans and pillowcases that are past saving. Denim patches for denim, cotton for cotton.
- A thimble. Optional, but it helps when you’re pushing a needle through layers of denim.
- Chalk pencil or washable marker. For drawing straight stitch lines on a patch.
A basket, a tin or a lidded box all work. What matters is that it’s one place, and it’s somewhere you’ll see it.
Start the mend pile
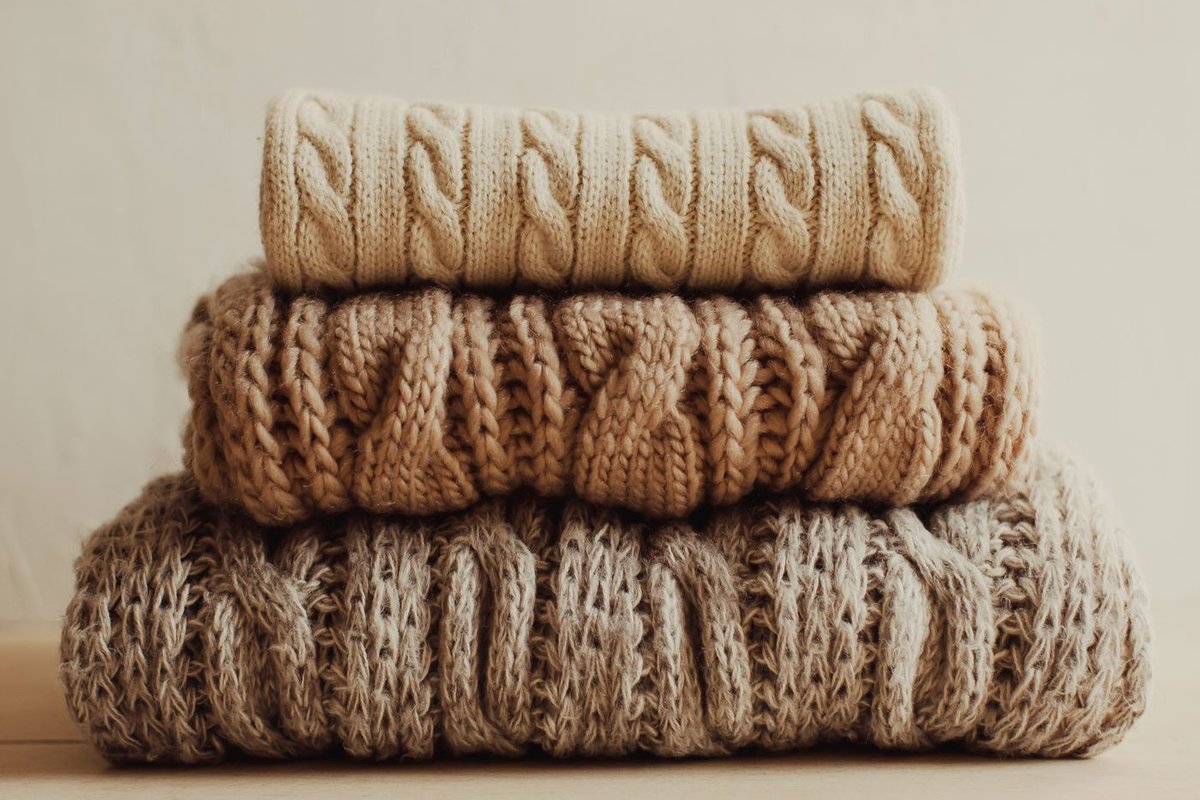
The pile is the system. The rule is simple: if it needs a fix, it goes in the basket, not back in the drawer.
- Catch things on laundry day. The weekly laundry reset already has you checking pockets and pulling stained items. Pull anything with a loose button, a split seam or a hole at the same time.
- Mark the problem. Pin a scrap of paper or a safety pin to the spot. A month later you won’t remember which sock had the hole.
- Write it down. Add a line to the Mend Log: date, item, what’s wrong. It takes ten seconds and turns a vague pile into a short list.
- Keep it small. If the basket overflows, that’s a sign to sort, not to buy a bigger basket. More on that below.
The 20-minute monthly mend session
Pick one day a month and put it somewhere you’ll actually look. The first weekend of the month pairs well with the weekly home reset, or it can be one of your screen-free winter evenings. If you keep a paper planner, write mend day on the monthly page so it shows up without thinking (the paper planner setup has a monthly reset slot for exactly this).
Set a timer and go:
- Sort the pile (3 minutes). Four groups: fix tonight (buttons, small seams, anything under ten minutes), next session (darns and patches), tailor or cobbler, and rags.
- Set up (2 minutes). Thread two or three needles in the colors you’ll need before you start. It saves you from re-threading with tired eyes later.
- Mend (12 minutes). Quick fixes first. Two buttons and a seam in twelve minutes is a good session. If there’s time left, start one bigger job, like a darn, and leave the needle parked in it for next time.
- Log it and reset the basket (3 minutes). Tick off what’s done in the Mend Log, put the finished pieces away, and note anything the kit was missing.
That’s it. Some months you’ll clear three things. Some months one. Both count.
Five beginner fixes
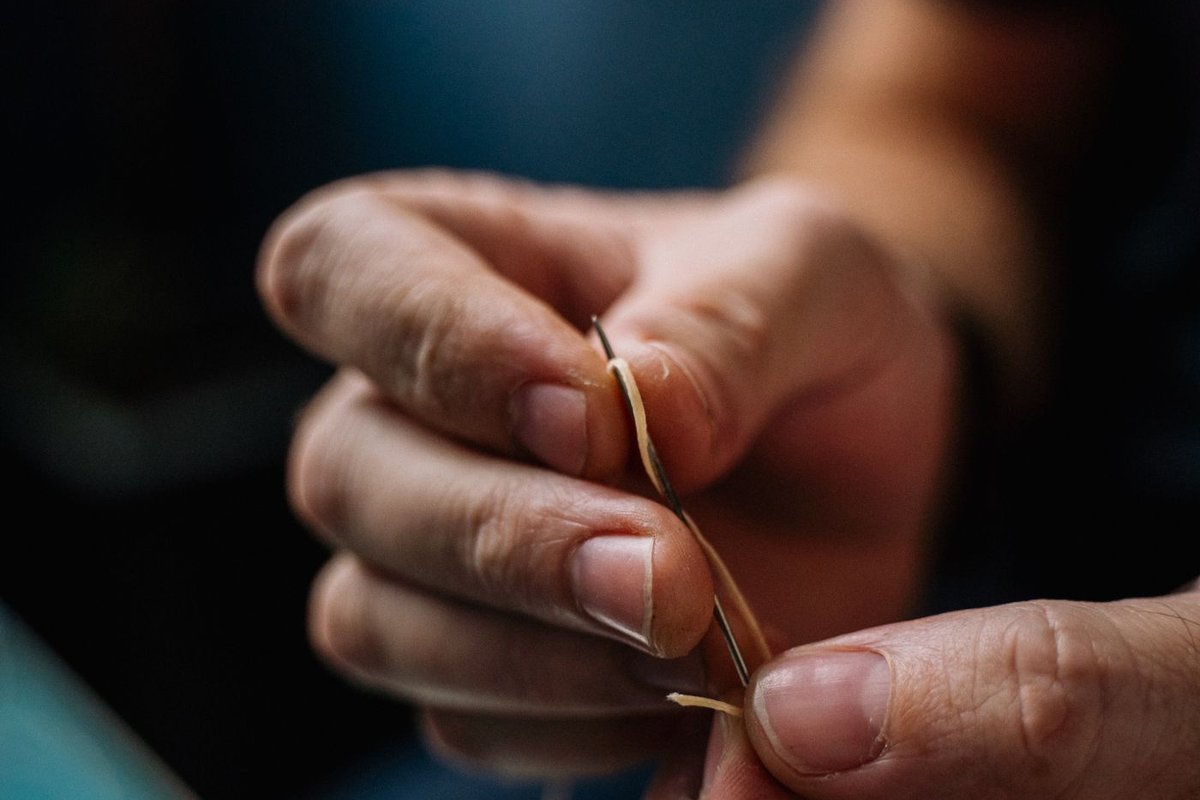
These cover most of what lands in a mend pile. Start with a scrap of fabric if you want a practice run.
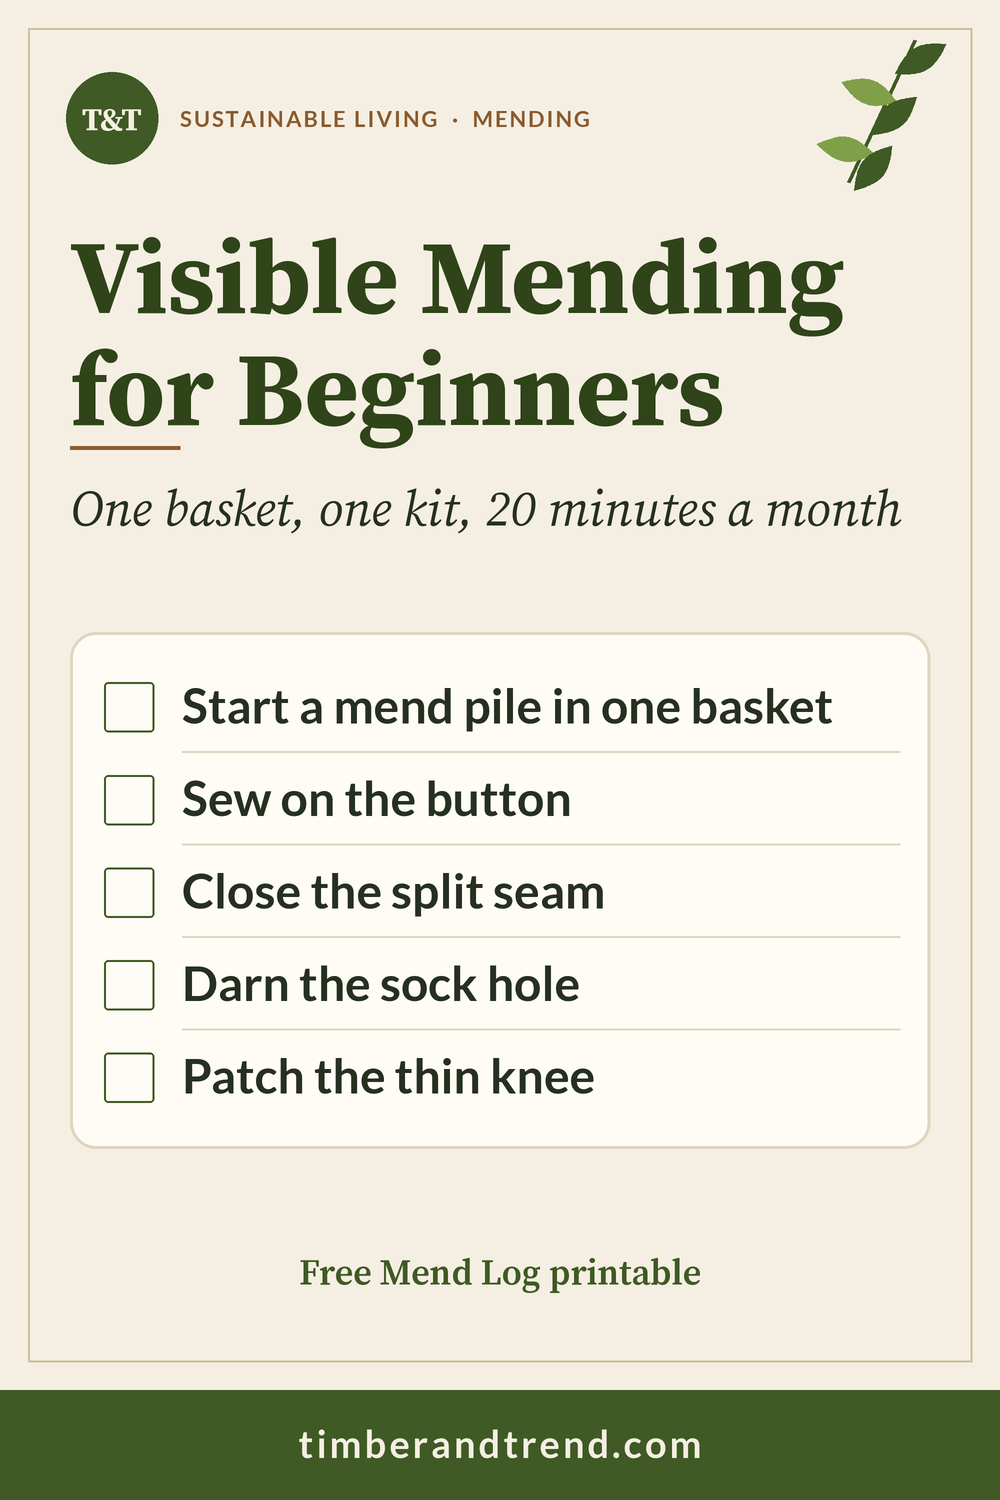
1. Sew on a button
Use a doubled length of thread and knot the end. Line the button up with the old thread marks. Lay a pin or toothpick across the top of the button and sew over it, up and down through the holes several times. The pin leaves a little slack so the button can sit on top of the buttonhole. Pull the pin out, wrap the thread around the stitches under the button a few times to make a short shank, then knot it on the back. Thicker coats need the longer shank.
2. Close a split seam
Turn the garment inside out and pin the seam closed along the original line. Start about half an inch into the stitching that’s still intact and end half an inch past the gap. Use backstitch: bring the needle up, go back down one stitch length behind, then come up one stitch length ahead. It’s the strongest simple hand stitch, and on the inside of a seam nobody sees it.
3. Darn a hole in a sock or sweater
Slip the darning mushroom inside, under the hole. With darning yarn, sew a ring of small running stitches about a quarter inch outside the worn area, since the fabric around a hole is usually thin too. Then lay yarn across the hole in one direction, back and forth, close together. Turn the work and weave across in the other direction, over one strand and under the next, switching the pattern each row. Keep the tension loose so it doesn’t pucker. Weave the tails in on the inside. A contrasting color makes it a visible mend, and nobody expects a sock heel to be invisible anyway.
4. Patch a worn knee or thin spot
Cut a patch about an inch bigger than the worn area on every side. Pin it behind the hole, on the inside of the garment. Draw straight lines across the area with chalk, about a quarter inch apart, then work rows of running stitch along them through both layers. This is the sashiko-inspired version: even stitches, simple lines, and a repair that reinforces the whole area instead of just the hole. On jeans, a thimble makes it much easier on your fingers.
5. Fix a dropped hem
Fold the hem back up along the old crease and pin it. Use a slip stitch: catch just one or two threads of the outside fabric with the needle, then slide the needle along inside the folded edge for about a quarter inch and come out. Repeat. Done right, it barely shows on the outside.
One bonus, no sewing: a snag in a knit. Don’t cut the loop. Push it through to the inside with a needle or crochet hook, then gently ease the stitches on either side flat.
When to skip the DIY
Some repairs are worth paying for. A coat zipper, a lined or tailored jacket, a good suit, leather and suede, and shoes are usually better handled by a tailor or a cobbler. The quick test: if you’d be upset to get it wrong, take it in. Mark those “tailor” in the Mend Log so they don’t sit in the pile for a year.
And some things really are done. Worn-through cotton tees and towels make good cleaning rags. They pair well with the natural cleaning recipes. Cut off any usable panels first and keep them in the basket as patch fabric.
Make it stick
- Keep a tiny kit on the go. A needle with a little thread wound around it, a few safety pins and a spare button fit in a small tin in your analog bag.
- Give mending as a gift. A small mending kit in a reused tin is a thoughtful low-waste gift, and fabric scraps from the pile make good cloth for zero-waste gift wrapping.
- Look back at the log. After a few months the Mend Log shows what keeps breaking. That’s useful the next time you shop.
More ideas for wasting less and keeping what you have in use are in Sustainable Living, and the weekly room routines are in Home Resets.
Sources
- US EPA, Textiles: Material-Specific Data (2018 data: 17 million tons generated, 14.7 percent recycled, 11.3 million tons landfilled).
- Ellen MacArthur Foundation, A New Textiles Economy: Summary of Findings (2017) and Fashion and the circular economy.
- WRAP, Valuing Our Clothes (2012).
- Embroiderers’ Guild of America, Embroidery Techniques from Around the World: Sashiko (Feb 28, 2024).
- Victoria and Albert Museum, Make your own: Japanese ‘Boro’ bag.
- Minneapolis Institute of Art, Patchwork (boro) farmer’s short coat (hanten), 19th century.
Save this for later
Pin it to your Sustainable Living board so mend day is easy to find next month.
Printable bundle · $5 launch price
Get every checklist in one place
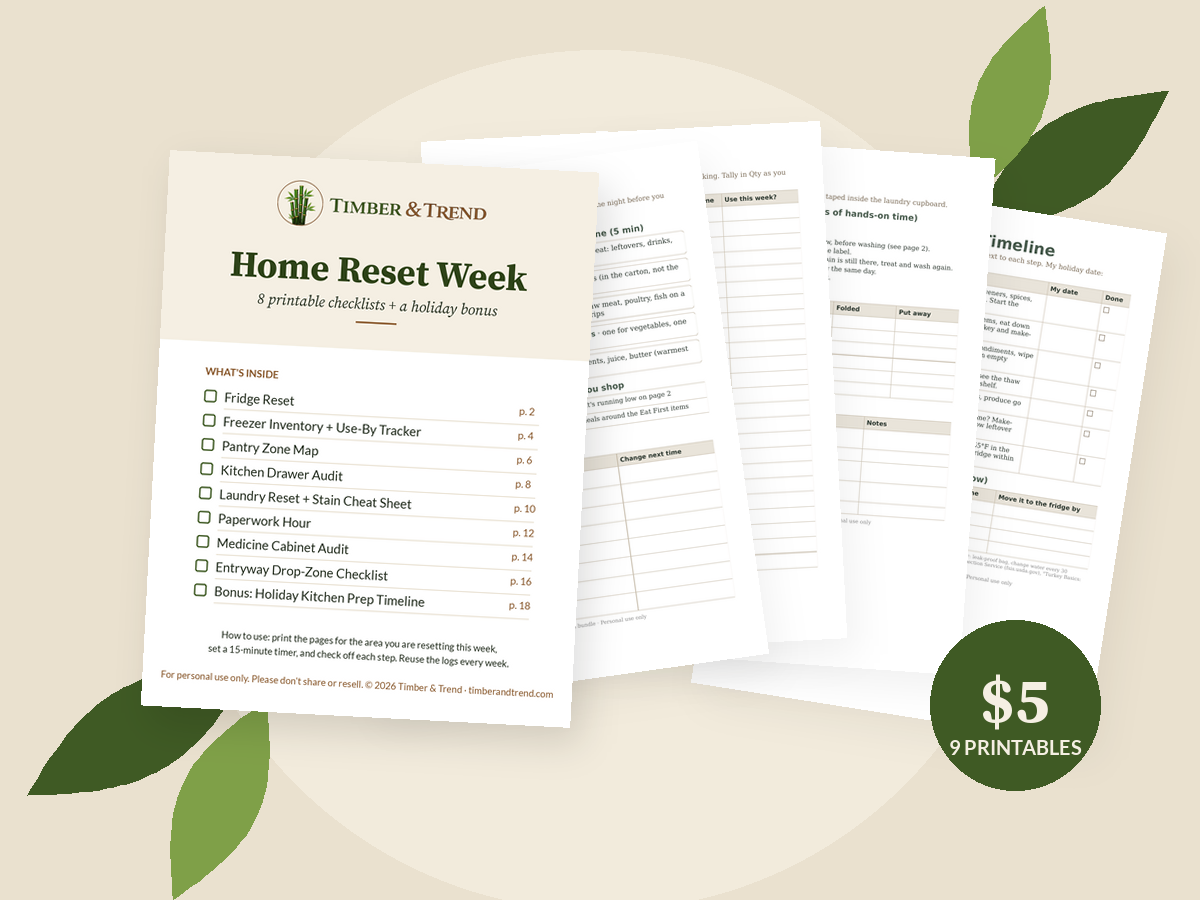
The Home Reset Week bundle has 8 printable resets (fridge, freezer, pantry, drawers, laundry, paperwork, medicine cabinet, entryway) plus a holiday kitchen prep timeline.